How To Part 1 #
1-Get started #
- Follow the Get started button to the registration form.

- Enter you name, Email, phone number and password.
- Type the store name you would want to be displayed on your zVendo store, which will be displayed in your domain name as well, like the following: http://your-store-name.zvendostore.com
- When you enter your domain name, keep in mind that when you first create your store, you will be choosing your primary domain, which you can change to your own company’s domain name or any other domain you can buy from a domain hosting website and sync to your store from your backend/Admin page. Your primary domain will go as something like this: http://your-store-name.zvendostore.com, as for any domain name you choose to use later, it will look like this: http://your-store-name.com
- If you wish for a customized domain ,you can simply change it from domains from your online store, without any further fees charged.
- For your own domain name, which will go as something like this: http://yourbrandname.com, then it will have to be purchased from a third party provider and then connected to your online store through domain mapping to be applicable.
- To add your own domain name, read how to do this here
2-Add a product category #
N.B: After creating your online store, you can change the language of your Admin control page from the right side of the home page at the top.
-You can add your product category from the products page when you create a product or from the categories page, To add products’ categories, please follow these steps:
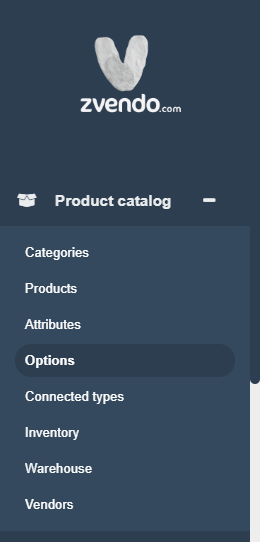
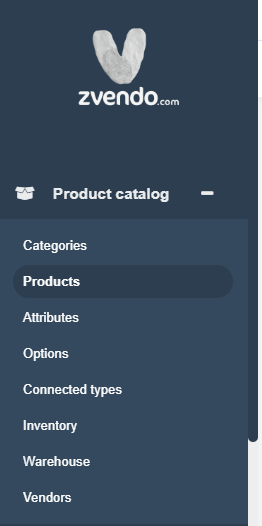
- Click on the icon with the 3 lines (hamburger button ☰) next to View your store, choose catalog, and click on categories, then click on create.


2. Create a new category, enter your category code, which can be its name, but without any spaces, (which is a unique product identifier, as product name or slug, for search results purposes, which customers can search your product by), enable category to be visible on your store, enter category name, and the slug (which is the part of the store URL that includes your category name) will be added automatically.
3-Add category description.
4-Add pictures, by clicking on add on the media tab.
5-Repeat these steps on the Arabic fields.
6-Click on Create.
7-To make a category under another category (Parent and child category):
- First, create the parent category, for example T-shirts, then create the child category, for example, Women.
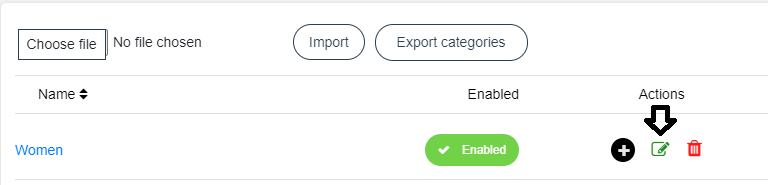
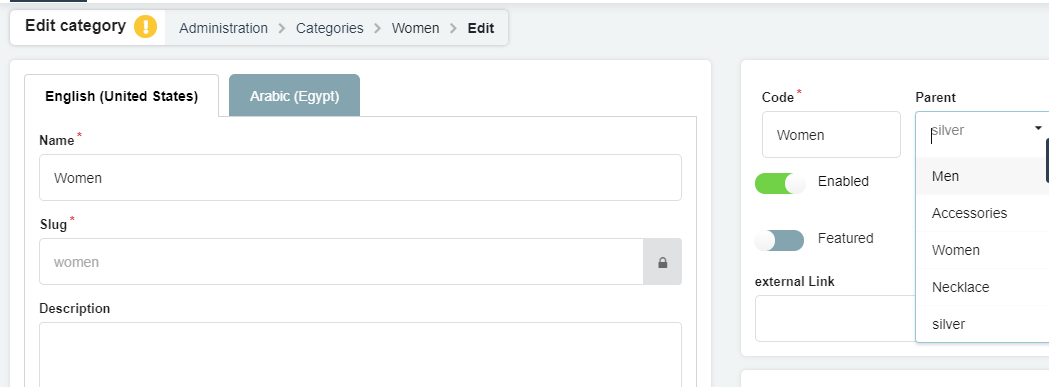
- From the categories page, go to the category you want to add a parent category to, then click on the edit icon.
- From the right side, add the parent category.
- Then save changes.
How To Part 2 #
A-Add a product with multiple variants #
- If your product has several variants, as different sizes, colors, then you need to create a configurable product.
1-Add a product option for a product with multiple variants #
- If your product has several variants, as different sizes, colors, then you need to create a configurable product.
- When you choose to create a configurable product ,you will have to add options for the product variants, for classification purposes, as choosing if they vary in type ,color, or size.
To create a configurable product, you will have to create an option first then a product, to do that, please follow these steps:
1-Click on the icon with the 3 lines (hamburger button ☰) next to View your store, choose catalog, then click on options.
2-Click on create.
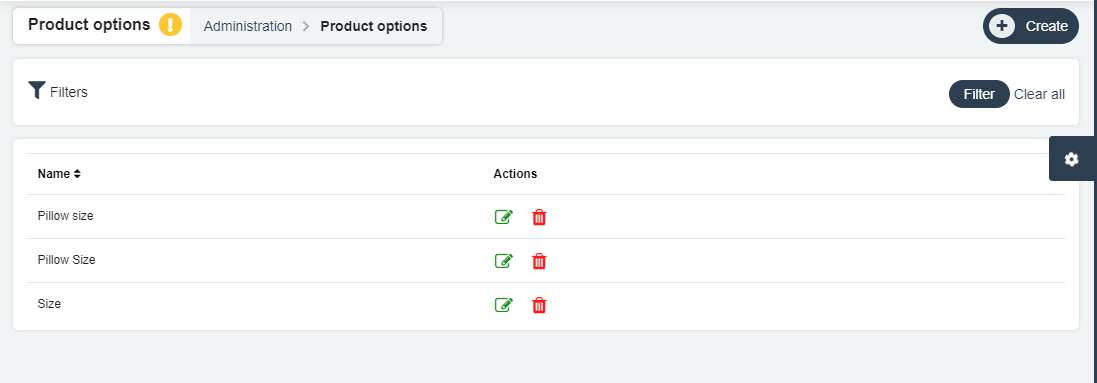
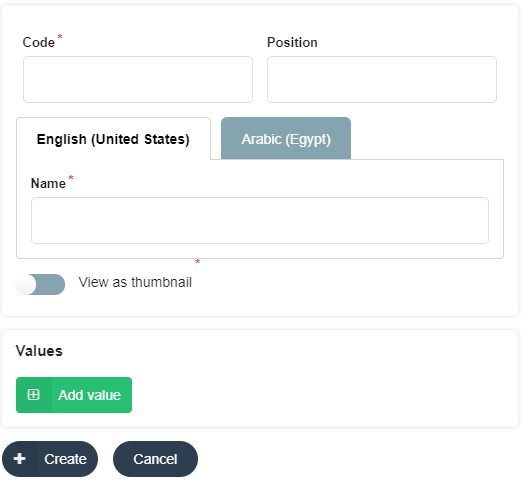
3-Add variant options, by entering the code, which can be its name, but without any spaces, (which is a unique product identifier, as product name or slug, for search results purposes, which customers can search your product by), as T-shirt size, and select the position of this variant.
For example, if you want to sell a T-shirt that has several sizes, you will name the option as size.
4-Enter option name in English and Arabic.
5-Add values to this option, if your option name is size, then you will want to add values, named Large, medium, and small for example, you can add multiple values.
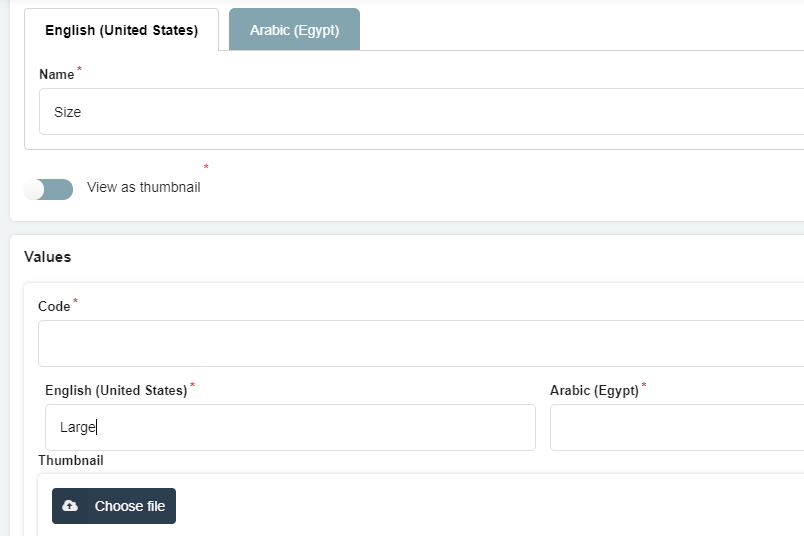
6-Click on Create.
You can also create the option when you are creating the product with multiple variants.
From the product page:
1-From the product settings tab, choose configurable product.
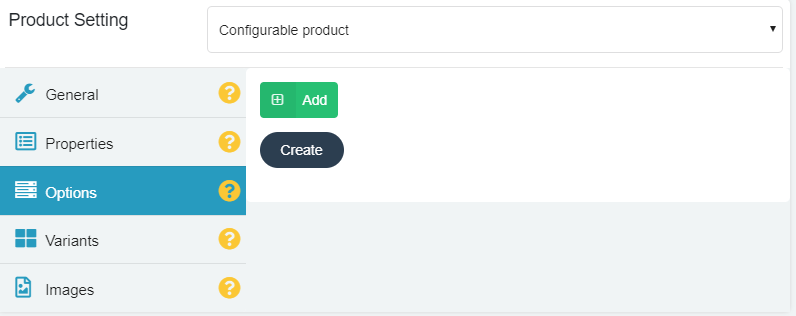
2-From the general tab, choose the channel you want to sell this product on.
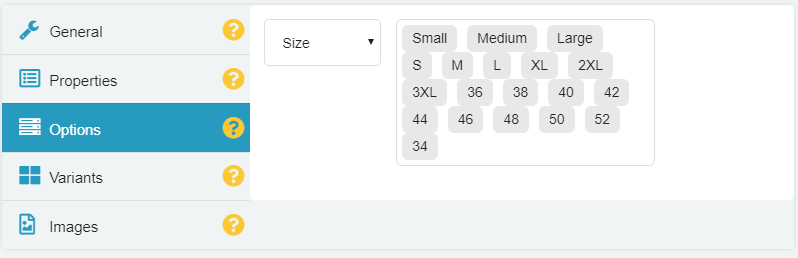
3-From the options tab, click on create and add the product option as size or color, then add values as medium and large.
4-Click on Create.
2-Add a product with multiple variants #
-
- If your product has several variants, as different sizes, colors, then you need to create a configurable product.
- When you choose to create a configurable product ,you will have to add options for the product variants, for classification purposes, as choosing if they vary in type ,color, or size.
- To create a configurable product, you will have to create an option first then a product.
After creating an option, you can start adding a product by following these steps:
1-Go to your zVendo Admin page, and click on the icon with the 3 lines (hamburger button ☰) next to View your store, choose catalog, then click on products.
2-Click on create.
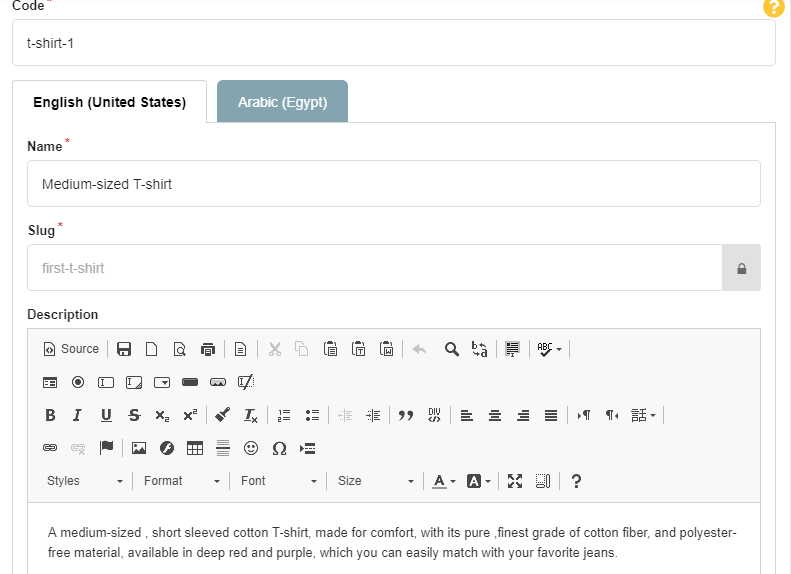
3-Start adding your product information, such as product name, and the slug will be added automatically, which is the same as the code, add product long and short descriptions, assign product meta description by adding words which your customers will be able to see in search engine results, as perfecting your meta description is crucial for better search results, add the code (which is a unique product identifier, as product name or slug, for search results purposes, which customers can search your product by), the code can be the same as the name, but without any spaces, and choose product state as preferred, by checking the state you want from enabled ,featured, best seller, preOrder, new, zero deposit, zero interest, another one for free, or limited quantity product, all this can be done from the upper part of the page, add your product images, then choose product category or more than one.
You need to enable the product to be visible to customers on your store.
4-From the product settings tab, choose configurable product.
5-From the general tab, choose the channel you want to sell this product on.
6-From the options tab, click on create and add the product option as size or color, then add values as medium and large, then again from options click on add and add the options you just created.
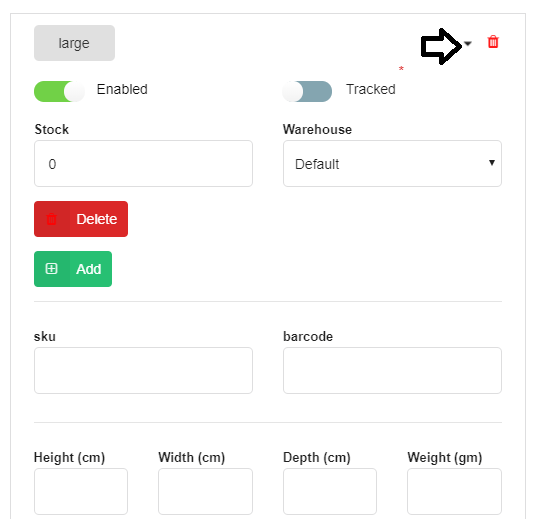
7-From variants tab, choose variant choice and click on generate, then from inside every option, add code, name, stock, price and all information of option.
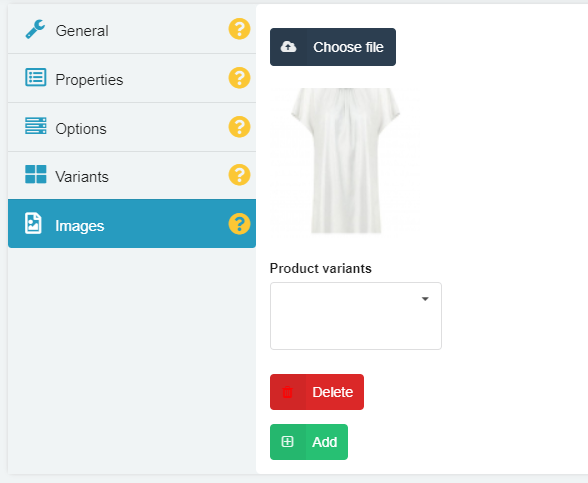
 8-From images, add product images, you can add multiple images and choose which variants have these images, by assigning the variants from the images drop-down menu.
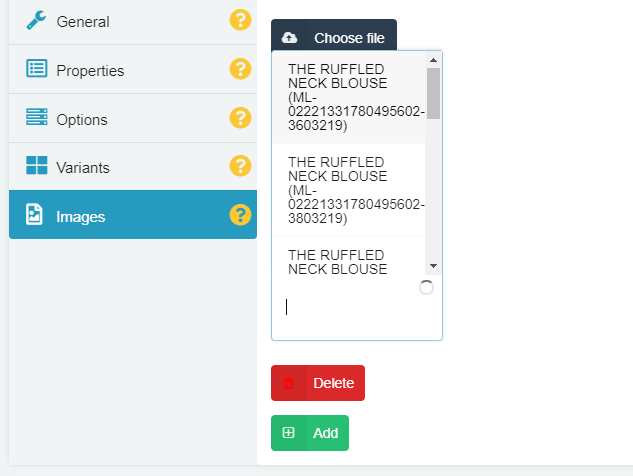
9-Repeat these steps on the Arabic fields.
10-Click on associations/connected types, and choose products you would want to connect to your current product to appear to customers as connected products.
11-Click on Create.
B-Add a simple product #
1-Add a simple product #
-
- If you want to add a product that doesn’t have any variants ,choose simple product.
- Variants are several forms of the same product, for example: a product that has several sizes, so a simple product will have one size.
To create a simple product, please follow these steps:
1-Go to your zVendo Admin page, and click on the icon with the 3 lines (hamburger button ☰) next to View your store, choose catalog, then click on products.
2-Click on create.
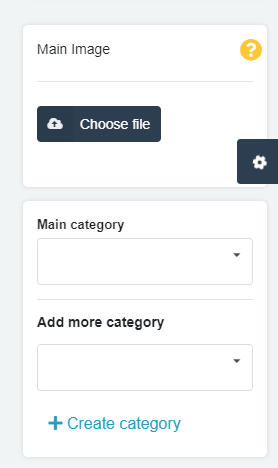
3-Start adding your product information, such as product name, and the slug will be added automatically, which is the same as the code, add product long and short descriptions, assign product meta description by adding words which your customers will be able to see in search engine results, as perfecting your meta description is crucial for better search results, add the code (which is a unique product identifier, as product name or slug, for search results purposes, which customers can search your product by), the code can be the same as the name, but without any spaces, and choose product state as preferred, by checking the state you want from enabled ,featured, best seller, preOrder, new, zero deposit, zero interest, another one for free, or limited quantity product, all this can be done from the upper part of the page, add your product images, then choose product category or more than one.
You need to enable the product to be visible to customers on your store.
 4-From the product settings tab, choose simple product.
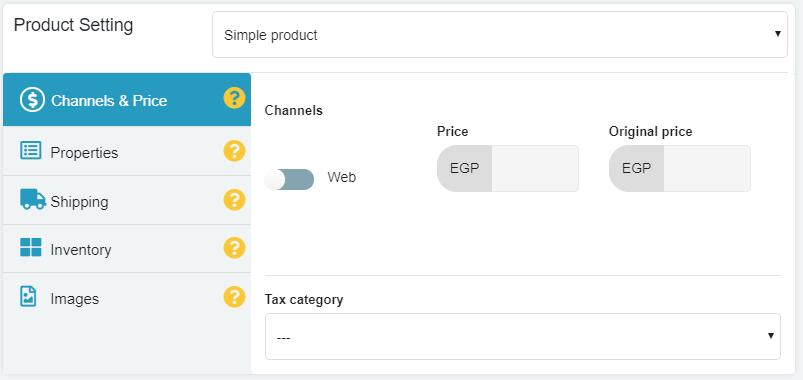
5-From the channels and prices tab, add product price, and if you want to show the product as one on discount, add original price and a new price underneath, and original price to be higher than the current price, if you want to add a discount percentage for customers that will pre-order this product, add this percentage under the prices, all this can be done from the upper part of the page.
6-From properties, assign product attributes or characteristics, which will make an easier experience for the customer to find and purchase your product by appearing in search results, for example you can create attributes named “material” then add values as “cotton”, or named after a specific ingredient of your product.
7-Assign shipping, and enter product vital information for shipping requirements, as width, height ,weight, add taxes if required, by choosing a tax category.
8-Access inventory, and choose if you want to track stock/inventory of this product so you can know when it’s close to running out of stock by checking that button, and you will be able to enter your current stock of the variant in your warehouse or storage house, for example if you have 12 items of this product variant, enter 12 in the stock tab.
9-Repeat these steps on the Arabic fields.
10-Click on associations/connected types, and choose products you would want to connect to your current product to appear to customers as connected products.
11-Click on Create.
How To Part 3 #
1-Add a shipping method #
To use zVendo shipping providers, you need first to choose a shipping method, shipping methods can be Aramex, R2S, or you can choose to ship on your own without a shipping company, if you choose a shipping company, after you sign your contract, we will integrate your shipping method to your online store.
- To configure the shipping rates first you need to have
- Weight assigned per product / variant in grams
- Countries required to ship to are available in the backend ,zVendo by default has Egypt’s cities and areas ready in the zone Namecity
- To add weight to a product
You need to do this if you want to assign shipping fees according to custom calculator (The weight of the product)
- Edit the desired product, for Simple Products, it will be under Shipping
- For Configurable Products, each variant will have a shipping settings section
- To add Countries
If you want to ship to other countries other than Egypt, then you will need to add these countries.
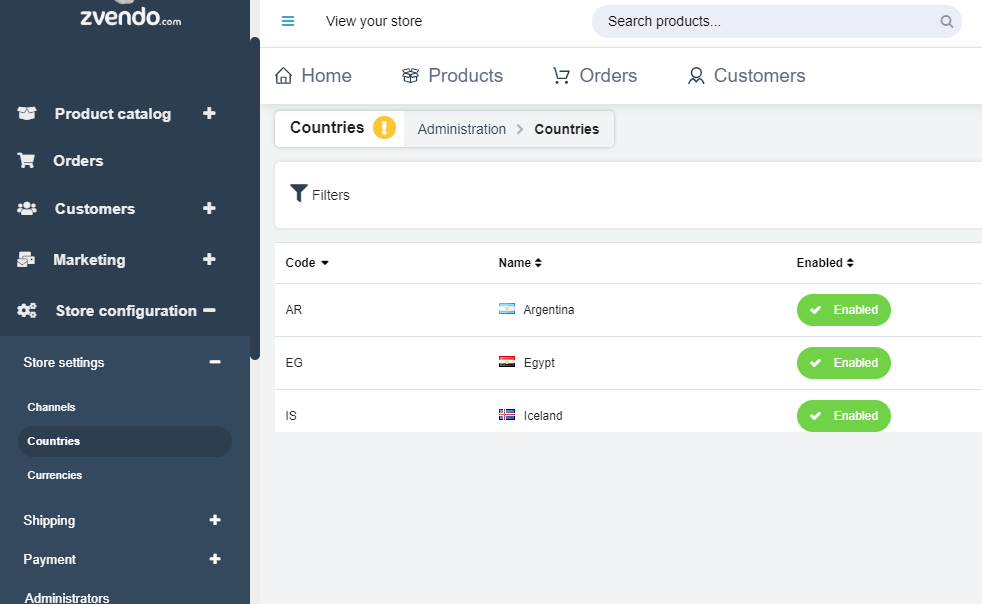
- Go to Store Settings–> Countries–>Create
- Select the country you want to add and select from the drop down menu the country name and click “Add”
- Shipping zone is a collection of Countries/Cities/ Areas that share the same shipping rate
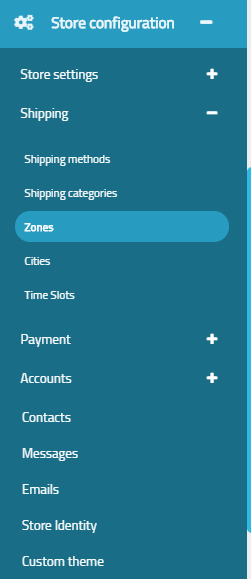
- Go to Shipping—>Zones–>Create
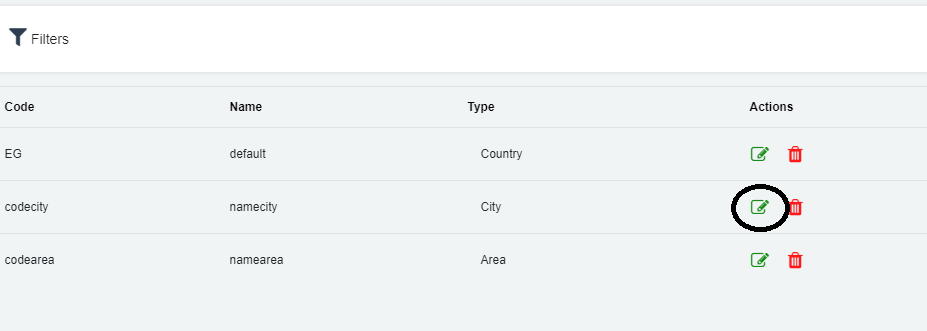
- Select the type of the zone (Countries/Cities/Areas/Zones)
- Add the Zone Code, Name, Delivery SLA
- Scope can be left “All” as default
- Type cannot by changed
- Set the rate per the first KG and the price for the following KG’s
- Add the Zone Members and Save
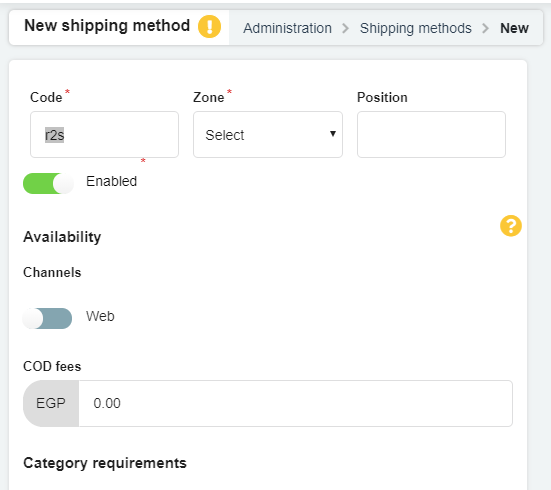
- Go to Shipping—>Shipping Methods–> Create
- Specify the Code & Zone
- Enable switch to allow / disallow the usage of that method
- Select the Channel that uses that method (Web/Mobile/POS)
- Note that the POS channel should have it’s own Shipping Methods , one for Free Shipping (Can be shared with other channels) and another with the Home Delivery Fees
- Select the name that appears to the customers at the checkout
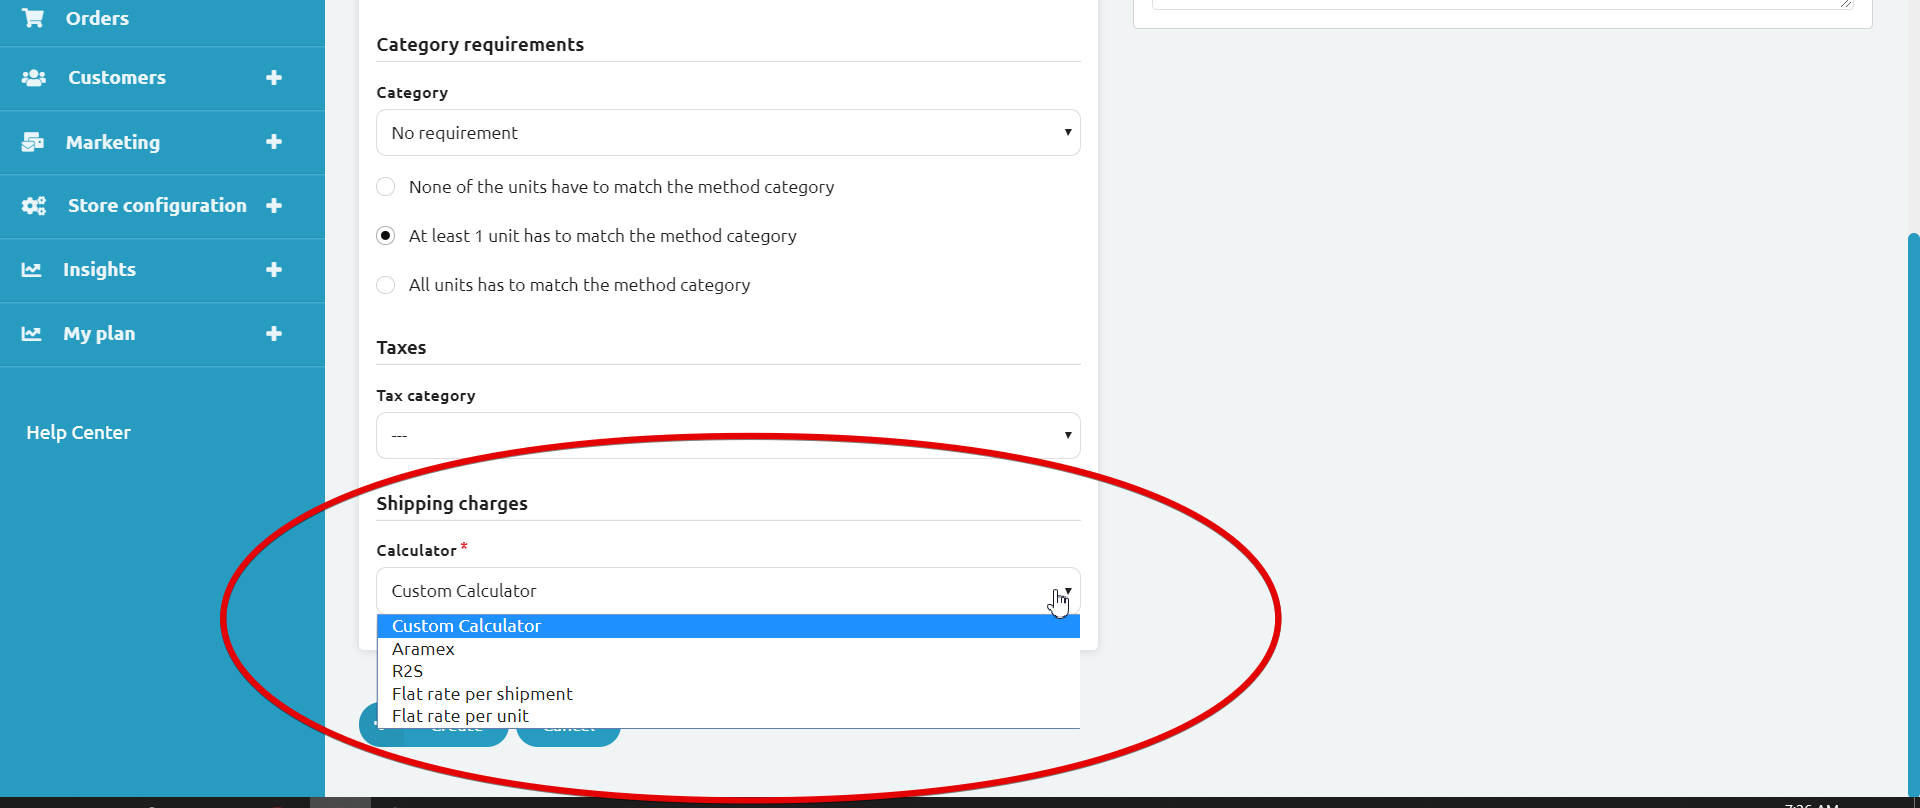
- From the Shipping Charges Select “Custom Calculator” to use the pricing specified in the zones
- To enable Free / Flat rate shipping , Select “Flat Rate per shipment”
Once you sign your contract with a shipping company, or if you want a standard delivery, you can follow these steps to configure all requirements for shipping integration:
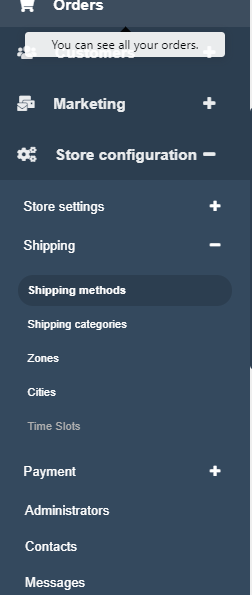
1-From your Admin page, click on the icon with the 3 lines (hamburger button ☰) next to View your store, you will need to add cities required for shipping, and to do that, go to your navigation menu from the icon with the 3 lines next to View your store, then choose Store configurations>Store settings>Countries.
2-Click on create and add the country you want to ship orders to, Egypt is added by default.
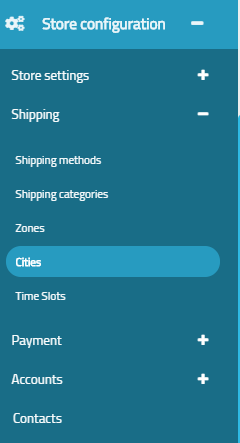
3– Add cities inside this country, by accessing the same navigation menu, choose Store configurations>Shipping>Cities, then click on manage cities, you will find all the cities already added to the country by default, you can edit the cities or add new cities.

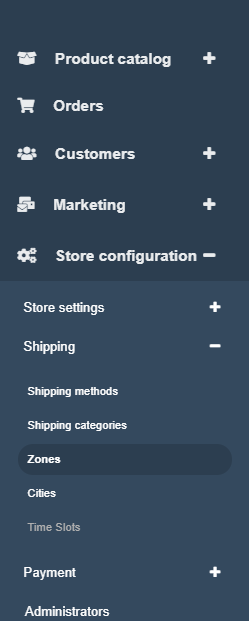
4-Add zones to ship to, keeping in mind that every shipping method can only deliver to one zone, and that every zone will have a specific rate for delivery for all cities or areas the zone contains, to do that, from the navigation menu, choose Store configurations>Shipping>Zones, Click on create.

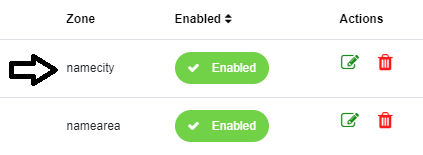
5-Choose zone consisting of cities, to create a zone inside the city you previously created, you will find that the zone Namecity is already created and it contains all the cities inside Egypt, you can choose it or edit it as you like.
-If you want to add a zone consisting of areas inside the cities, choose zones consisting of areas, and you will have the zone Namearea already created by default.
-By using the same process you can add zones consisting of countries or zones consisting of other zones.

6-Add several members inside this zone, members as 1st settlement, and 5th settlement.
7-Add price per the first KG for shipping, then add value of any other KG added after, then click on save.
8-Add your shipping method, from the navigation menu, choose Store configurations>Shipping>Shipping method, then click on create.
10-Enter name of the shipping method, add a description, and the name of the zone you created, scroll down to “Shipping Charges—->Calculator” and choose the shipping method
11-Click on Create.
2-Add a shipping method in Egypt #
Before we know how to add a shipping method, please know that:
- You need to create a zone ( a group of areas or cities or governorates) inside Egypt to ship to them.
- Each zone has a specific shipping rate or fees.
- Each shipping methods delivers to only one zone, to ship to multiple zones add multiple shipping methods.
- zVendo by default added the zone nameCity zone to ship to all Egypt’s cities.
- After creating the shipping method, add a zone to it then add the shipping fees per zone.
You have 3 options to add the shipping prices:
- Choose a shipping company from zVendo integrations and the shipping price will be according to the shipping company.
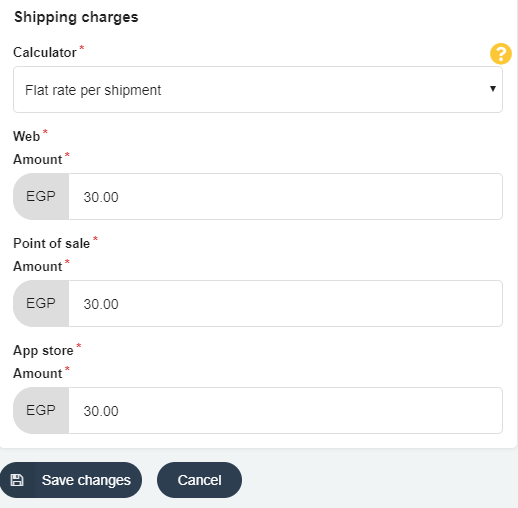
- If you want to add flat shipping rate per shipment, then from the shipping method choose flat rate per shipment and add the shipping price for all channels.
- if you want to add flat shipping rate per unit, then from the shipping method choose flat rate per unit and add the shipping price for all channels.
You can choose to ship on your own or choose a shipping company that zVendo directly connects to your store.
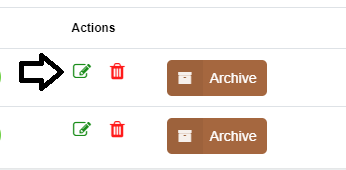
1-First you need to add zones to ship to, keeping in mind that every shipping method can only deliver to one zone, and that every zone will have a specific rate for delivery for all cities or areas the zone contains, to do that, from the navigation menu, choose Store configurations>Shipping>Zones, Click on nameCity zone to ship to all Egypt’s cities, click on the edit icon, you will find all Egypt cities added by default.
- The zone nameCity has all Egypt’s cities added by default, if you want to ship to a special group of areas or cities that have a special shipping rate, then you will need to add another zone and you will add the members (cities) you want to it, To add a new shipping zone from zones choose a zone consisting of cities to add a zone of special cities or choose a zone consisting of areas to add a zone with special areas inside the city.
- If you want to ship to multiple zones, then you will have to create a shipping method for each zone and each method will have its special shipping fees.

Remember, You have 3 options to add the shipping prices:
- Choose a shipping company from zVendo integrations and the shipping price will be according to the shipping company.
- If you want to add flat shipping rate per shipment, then from the shipping method choose flat rate per shipment and add the shipping price for all channels.
- If you want to add flat shipping rate per unit, then from the shipping method choose flat rate per unit and add the shipping price for all channels.
2-Add your shipping method, from the navigation menu, choose Store configurations>Shipping>Shipping method, then click on create.
5-Enter name of the shipping method and add a description, if you want to ship with a shipping company then scroll down to “Shipping Charges—->Calculator” and choose the shipping method and the shipping price will be according to the shipping company.
7-If you want to add flat shipping rate per shipment, then choose flat rate per shipment and add the shipping price for all channels.
8-If you want to add flat shipping rate per unit, then choose flat rate per unit and add the shipping price for all channels.
9-Click on create.
N.B: Check the Shipping integrations category to find how to connect specific shipping providers to your store.
3-Add a payment method #
A payment integration is a connection between your online store on zVendo and your payment service.You first need to choose from Cash on delivery (COD), or an online payment, then you can configure your payment method on your zVendo store, to do that, follow these steps:
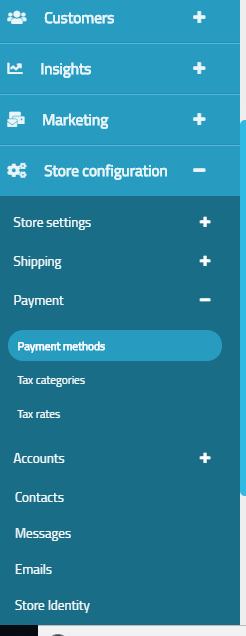
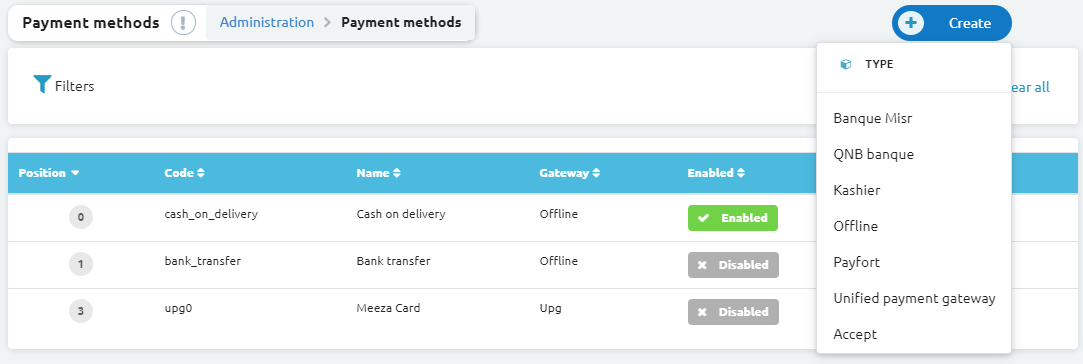
1-Go to your zVendo store Admin page, and click on the icon with the 3 lines (hamburger button ☰) next to View my store, access the Navigation menu, access store configuration>payment>payment methods, then click on Create

2-If you want Cash on delivery, then choose an offline payment.
3-If you want an online payment, installment, or E-wallets payment, then you can choose your wanted payment from:
- Credit card payments through WeAccept, Kashier, Bank Misr, QNB, Payfort
- Installment: Through Accept-ValU, Bank Misr
- e-Wallets: Through UPG, Meeza, Accept, Bank Misr, QNB
4-You need to sign a contract with one of these payment providers and automatically when you enter your payment information, it will be configured and directly connected with your online store on zVendo.
4-Enter name, check the channels you want to use this payment method on, add all information of your payment gateway, to accept payments to your bank account.
5-Click on Create.
N.B: Check the payment integrations category to find how to connect specific banks and gateways to your store.
4-Add domain name #
-
- You are entitled to choose your domain/URL or settle for your primary domain, with keeping in mind that your primary domain will go as something like this: http://zvendocustomer.zvendostore.com, or you can customize your domain, as it is your store and you have the free will to decide on what domain you want to reflect it.
- If you wish for a customized domain ,you can simply change it from domains from your online store, without any further fees charged.
- For your own domain name, which will go as something like this: http://yourbrandname.com, then it will have to be purchased from a third party provider and then connected to your online store through domain mapping to be applicable.
To add your own domain name, please follow these steps:
1-First you need to purchase a domain from a domain provider, as GoDaddy, or purchase your domain now with up to 40% discount through zVendo domains here: http://buy.zvendo.com/
2-Go to the domain you purchased from your domain provider account, and from your Domain DNS settings.
3-Scroll down till you find Add a new record.
4-In the Type field, choose A record.
5-In the Host field, type @.
6-In the Points to field, type: 159.89.100.221 ,then in TTL field choose Custom, then in the seconds field choose 600, then save the record.
7-Add another record, and choose type CNAME.
8-In the Host field type : www
9-In the Points to field type: @ ,then in TTL field choose Custom, then in the seconds field choose 600, then save the record.
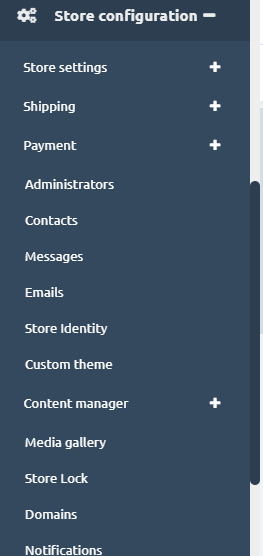
10-Go to your zVendo store Admin page, and click on the icon with the 3 lines (hamburger button ☰) next to View your store, choose store configurations, and click on Domains.

4-Click on Add Domain

 , if you don’t already have a domain you can click on buy your domain and we will be directed to zVendo and GoDaddy page where you can buy your domain with up to 40% discount.

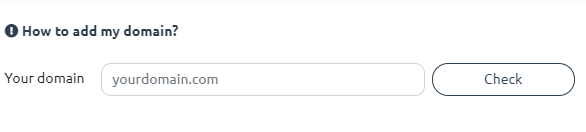
5-Enter the new domain URL you purchased from your GoDaddy account and click on Check, you have to add two domains, add a domain with www and add another one without www, and check each of them.
5-Final step to publish your store #
After you have finished with adding your products, adding your domain name, adding a shipping and payment method you can start your free trial, to do that, follow the steps below:
1-From your Admin page, click on the icon with the 3 lines (hamburger button ☰) next to View your store, My Plan>Start your free trial
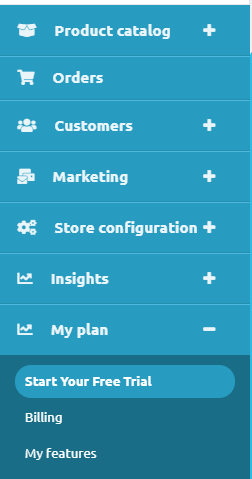
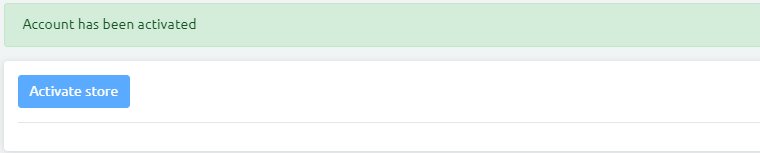
2-Click on Activate store