
Shape your store the way you wish to. You can arrange your main menu on the front-end of your store to include categories, static pages like about us, and return policies, and terms & conditions.
An example can be like the below picture.

Steps Of Organizing The Main Menu #
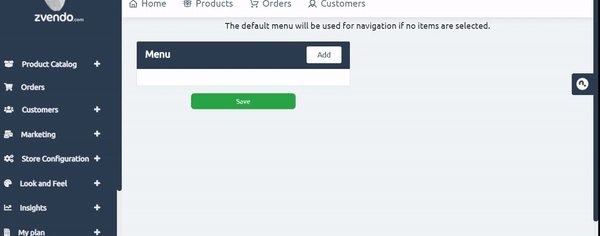
- From your store dashboard, click on “Look & Feel“
- Now click on “Content Manager“
- Then, press on “Main Menu“

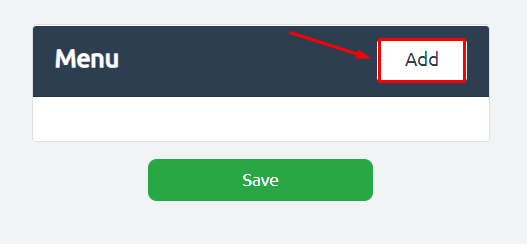
4. Press on the “Add” button to choose the category.
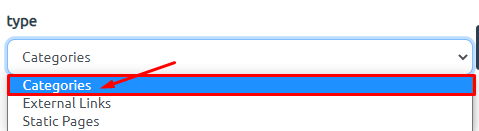
5. A new window will appear with the “type“, “name” of categories”, and “Target“. As shown in the below picture.
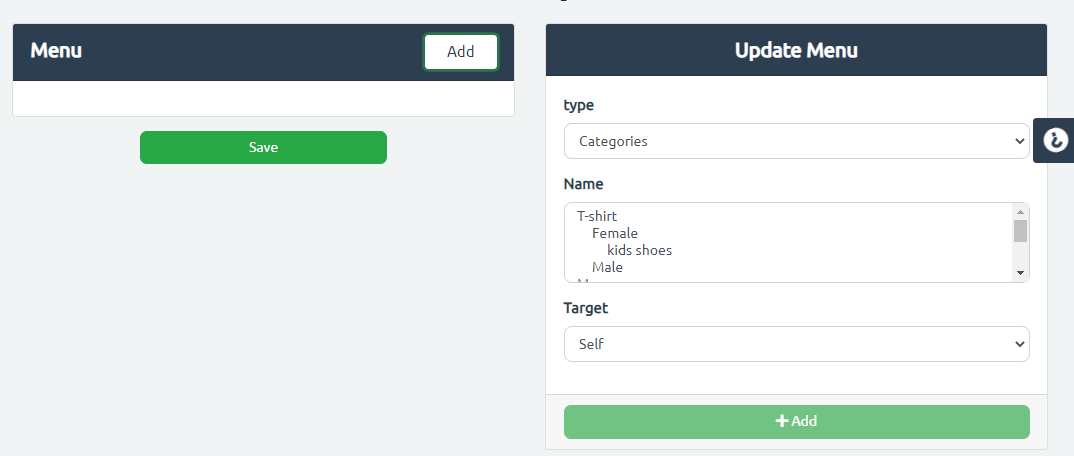
6. Then, click on “add“. As shown in the below picture.
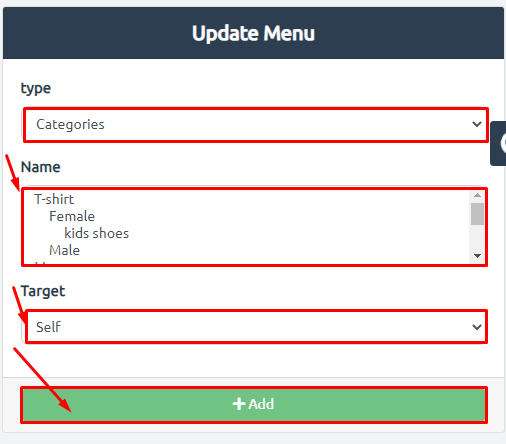
Highlighted Notes #
- Type: represents the clickable tabs you will add. It could be:
- Categories, examples: Women Clothes Category, Men Shoes Categories
- External links, examples: Google Form, Facebook group, partnership with other brands
- Static Pages, example: About Us, Return Policy, or Terms & Conditions
- Target:
- Self: This means that when users click on this tab, it will open on the same page.
- Blank: This means that when users click on this tab, it will open in a new tab.
![]()
Final Steps To View The New Menu #
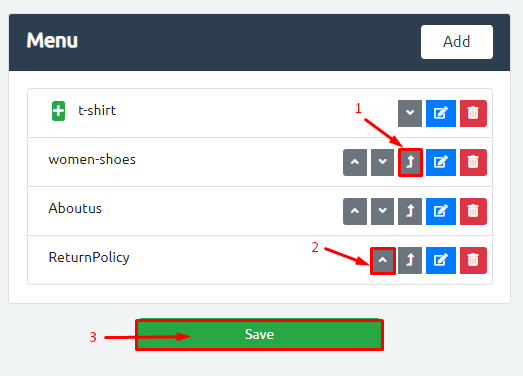
After you select the categories and pages in the order you wish for, follow the below steps:
- You can create a drop-down menu by clicking on the up arrow as shown in the number 1, as shown in the below picture.
- You can rearrange the order of the tabs by clicking on the small up arrowhead in the number 2, as shown in the below picture.
- Then, click on “Save” as shown in the number 3.
Now, click on “store” to view your store after the updates.

You can always add more tabs with the arrangement you like.
Now, you’re all set.


