Note: You need to contact Aramex to create and account and they will provide you with all information needed for the integration.
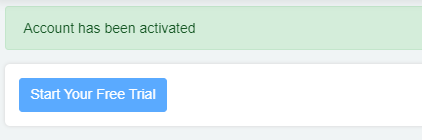
- First, you need to activate your store if you haven’t already, then choose a pricing plan.
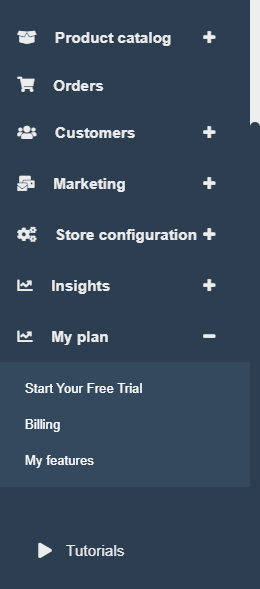
- From My plan, click on Start Your Free Trial, then click on the button to activate your store.
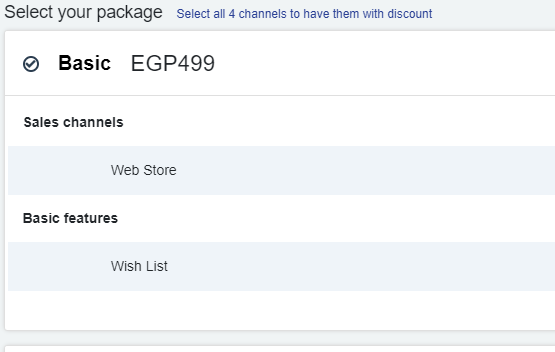
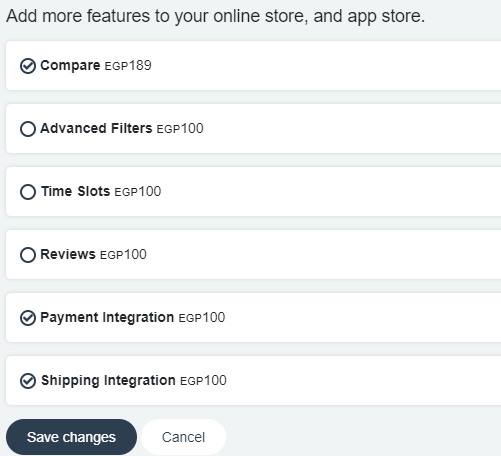
2-Then choose a plan, and scroll down till you find the Shipping integration feature, select it.
- To create an account on Aramex, go to this website: https://www.aramex.com/
- After signing up with Aramex, they will contact you and provide you with the information needed for connecting your online store with your Aramex account to start accepting orders.
API Details provided by Aramex are:
- Account Pin
- Account Number
- Other Data required for the integration in zVendo backend:
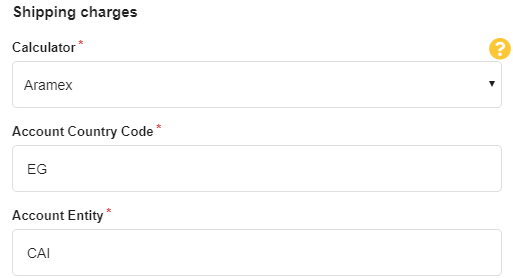
- Account Country Code: EG for Egypt, Aramex provides codes for other countries and cities
- Account Entity: For Cairo: CAI
- Username and password for the Aramex account
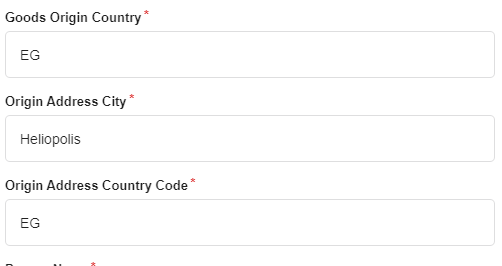
- Goods Origin Country: Where the items are shipped from, accepts a country code, EG
- Origin Address City: Accepts city code, as Heliopolis.
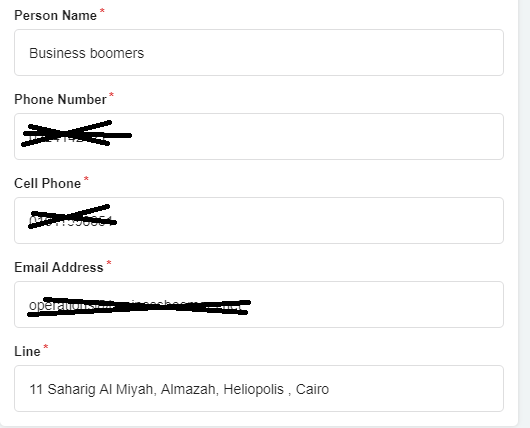
- Line: The shipment pickup address
-
- For Origin Address City, please use an area name for example, Heliopolis , Maadi or as agreed with ARAMEX during the contract phase.
- Integration version: v2.0, unless otherwise specified by Aramex
- Operations time: Store opening and closing Times, Ready Time (Time to start picking up items), Last Pickup Time (Merchants specify the last available time slot for items to be picked by ARAMEX runner)
You will use this data to connect Aramex service to your online store, to do this, follow the following steps:
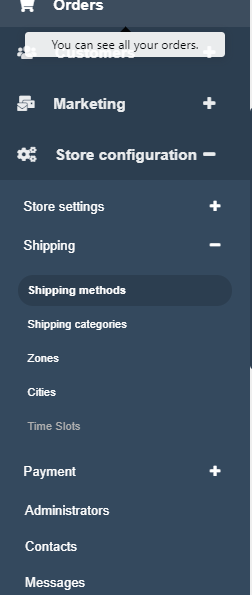
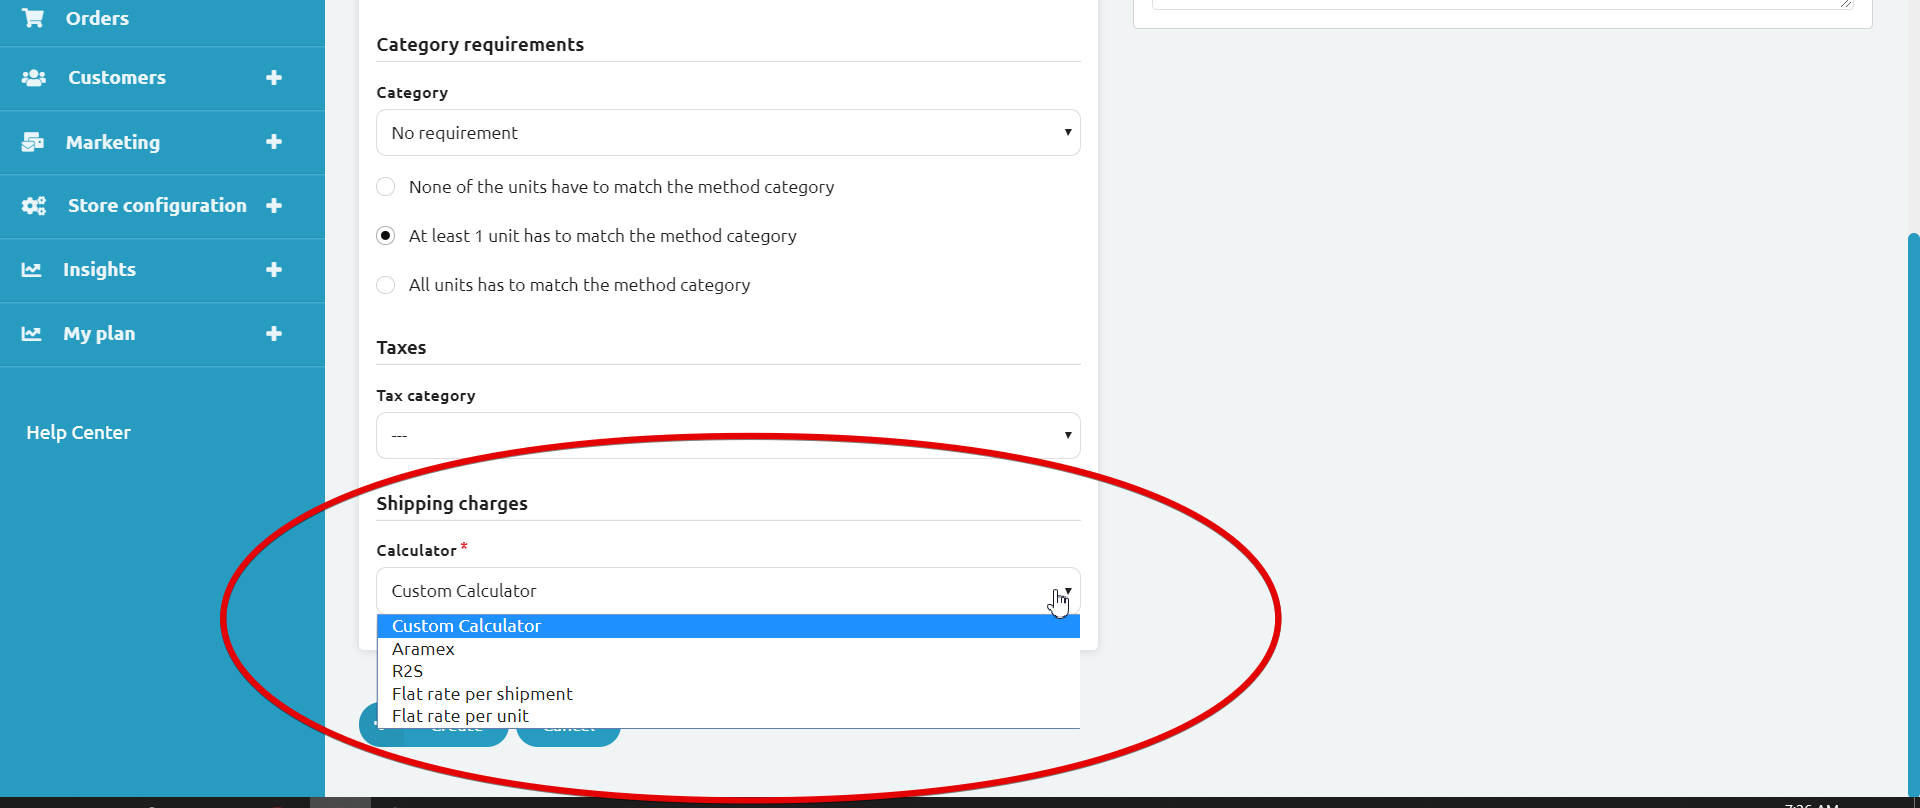
2-Go to your zVendo admin page, from the navigation menu, choose Store Configuration—>Shipping—> Shipping Methods

3-Your default country of shipping is Egypt, choose Name city Zone to deliver to all cities as Alexandria, Cairo etc.
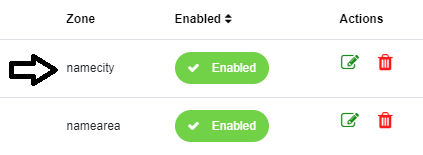
4-Click on the edit icon beside name city.
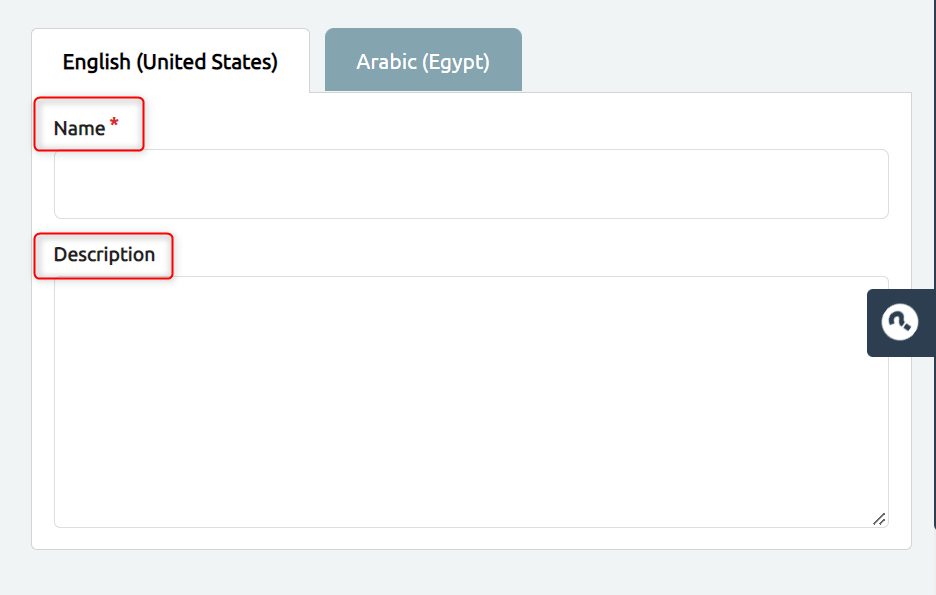
5-Add a shipping method name that will be displayed to your customers like “Standard Shipping, Express Shipping,,,,etc”
6. Add Code and zone from the left side of the page
7. Tick enable to active this shipping method on your storefront
8. Set the preferred channels for this shipping method
Note: COD Fees are optional. You can add extra fees for cash on delivery payment method. It encourages customers for online payments.
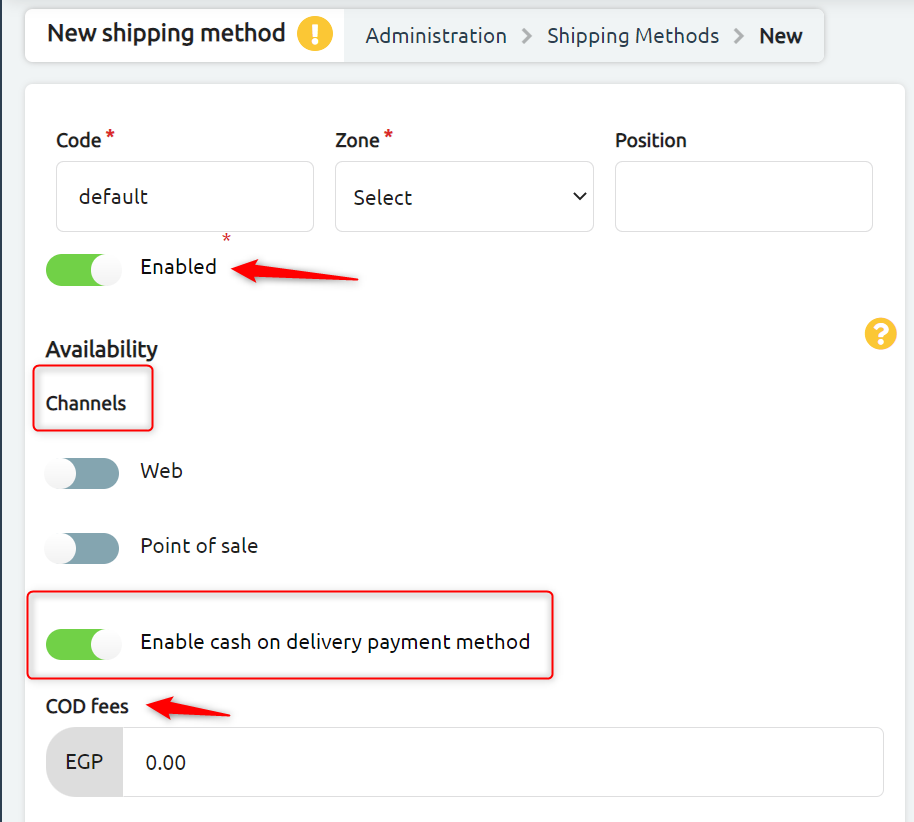
Note: You can activate “Enable cash on delivery payment method” to set your payment integration freely without worrying about end-users payment experience. End-Users will have their own choice to either pay online or pay in cash once they receive the order.
6-Scroll down to “Shipping Charges—->Calculator” and choose Aramex
6-Fill in the Data that Aramex provided you with, then click on create.
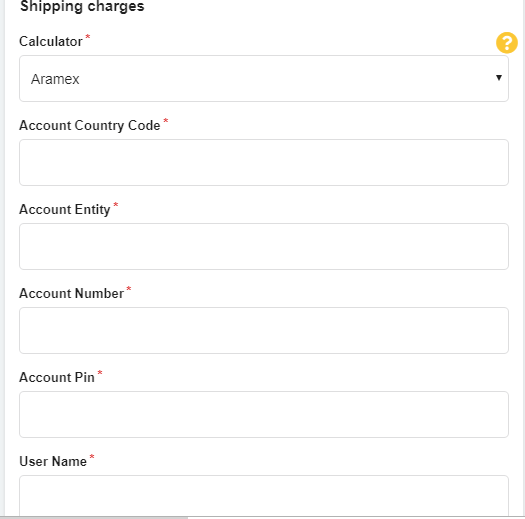
Examples of the date provided from Aramex are below: