
Steps To Add IP Address #
After purchasing a domain name, now you have to add zVendo’s IP address to link your domain name to your zVendo e-commerce store.
Linking your domain with your zVendo e-commerce store will allow your customers to search by your brand name on the browser.
To Add The IP Address #
Follow the below steps:
- Log in to your domain account.
Here’s an example from GoDaddy’s dashboard. - Go to “Domain Management“.
- Click on “DNS Management“.
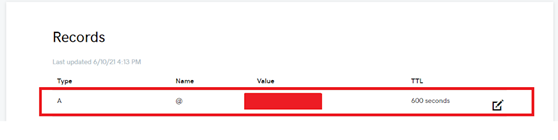
- In “A” record, click on the edit icon to change the name via editing in the “Host” field, and write “@“
- Then remove the word Parked and paste zVendo IP address “20.79.237.39” in the field of “Points to”.
As shown in the below picture.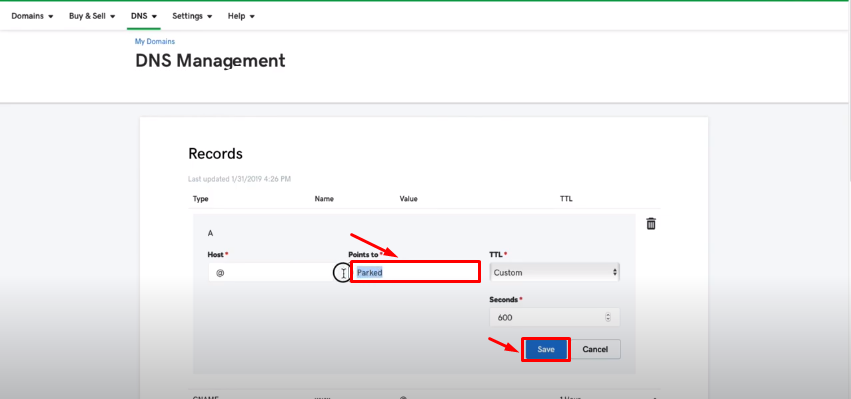
- In the “CNAME” record, click on the edit pencil icon.
- Write “www” and paste the store name of your zVendo store in the field of “Points To“.

- In the TTL (Time To Live) field, choose “Custom” and then choose “600” in the “seconds” field.
- Click on “Save“.
After finishing these steps, you can now get back to zVendo dashboard and add up the domain name.
To Add Domain Name on zVendo #
Click here to follow the steps to link your domain name.
Now, you successfully added zVendo IP address and linked the domain with your zVendo e-commerce store.


