
You can transfer your products on zVendo to your Facebook Shop with the “Product Feed Generator” feature. Demonstrated below are the steps on zVendo dashboard.
Once you generate the products file, you can get back to your Facebook commerce manager to proceed.
Steps to Generate Your Products File #
Head to zVendo dashboard, and follow the below steps:
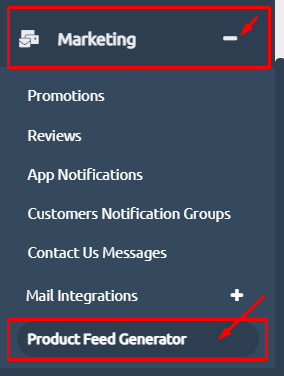
- From zVnedo back-end dashboard, click on “Marketing”
- Then, choose “Product Feed Generator”. As shown in the below picture.
Step 1: Generate:
- Click on “Generate” to reflect all products including the recently created products.
- Note 1: you can tap the option “Hide Disabled Products”, in case you disabled some of your products.
- Note 2: Make sure you chose your domain name on zVendo.

Step 2: View XML File:
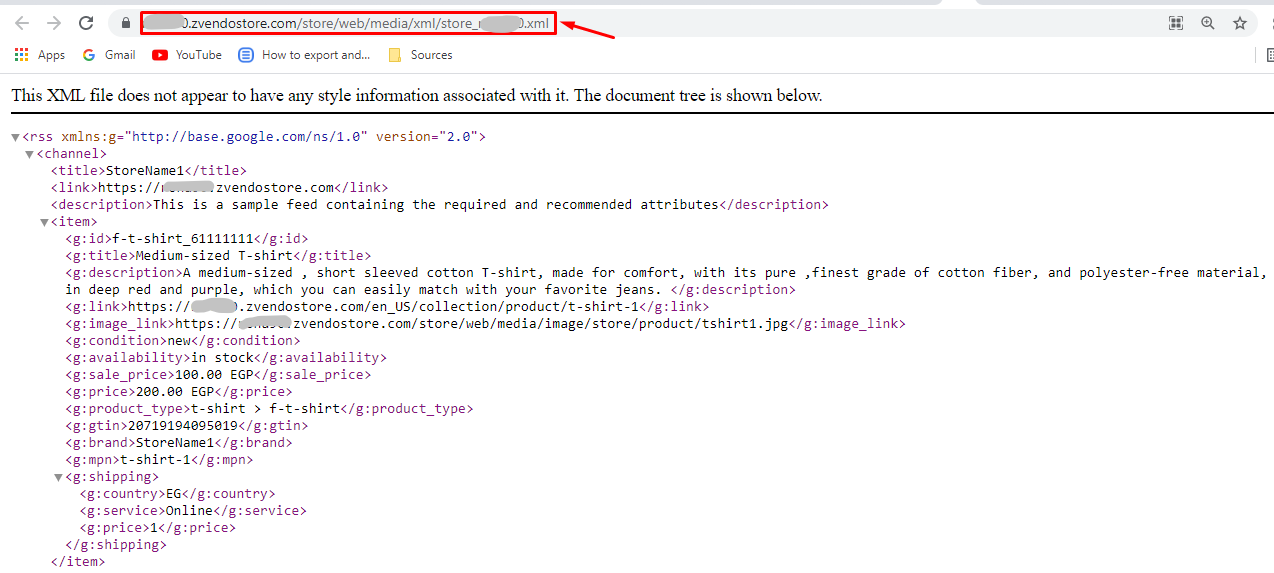
- Click on the “View” button.
- A new tab will be opened with your products coded in the XML file. As shown below.

3. The XML File will be shown as follows. Copy the URL of the XML file to paste it into your Facebook Commerce Manager.
Steps to Adding XML File on Facebook Shop #
Follow the steps on Facebook to learn how to Upload items to a catalogue with a data feed.
Also, you can check the below steps on how to add the link of your product feed XML file, listed by zVendo team.
Please Note: #
- Make sure you sign in to your Facebook Commerce Manager
- Make sure your Facebook page is ready.
- If you didn’t create a shop yet, you have to create one by clicking on the “Add Shop” button.
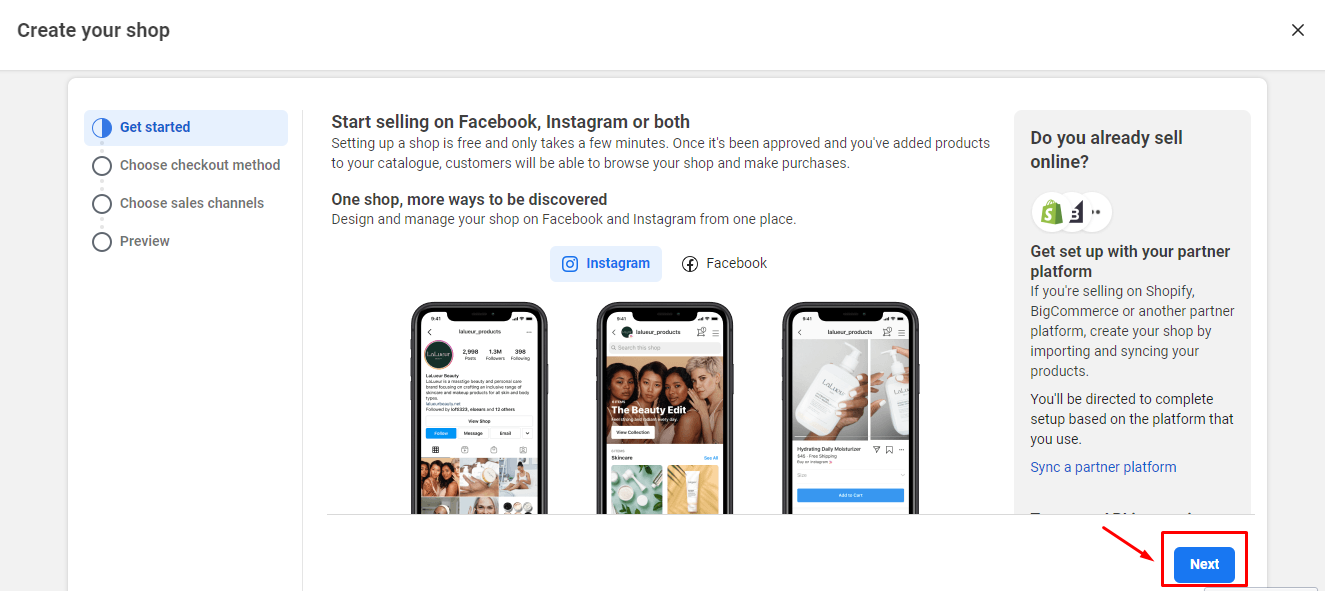
Create A Shop On Facebook #
- Follow the steps shown in the below pictures. And, keep clicking on “Next“
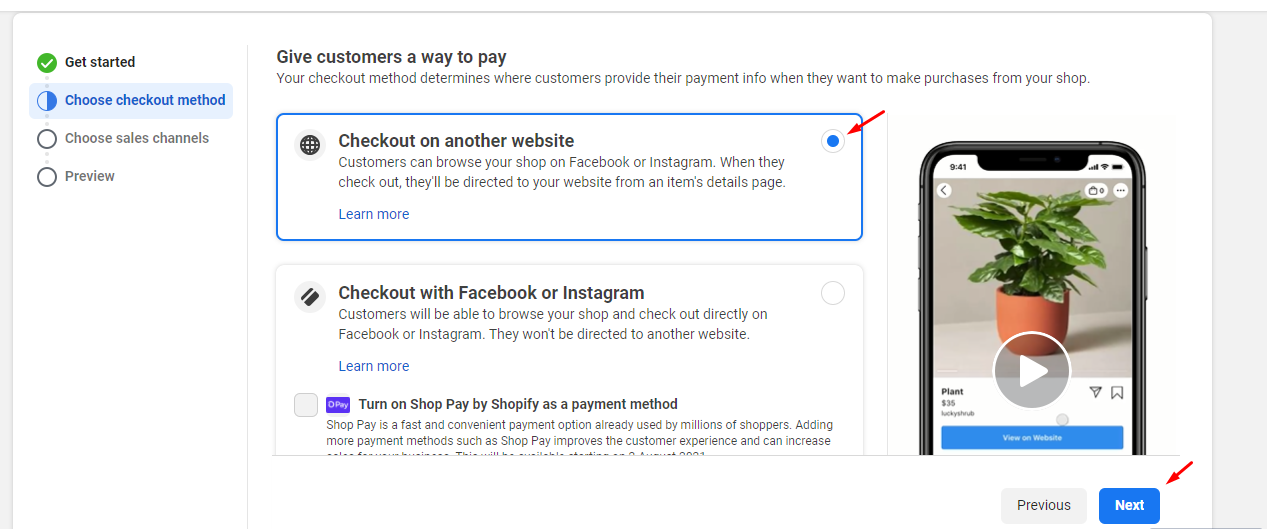
2. Click on “Next“
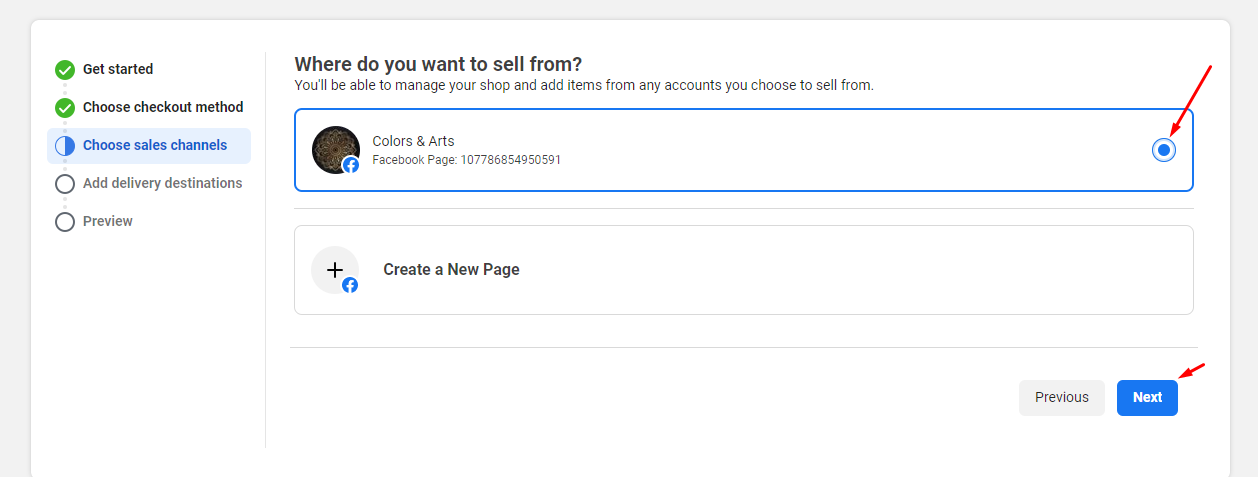
3. Select your page where you promote your products on Facebook. Then, click “Next“.
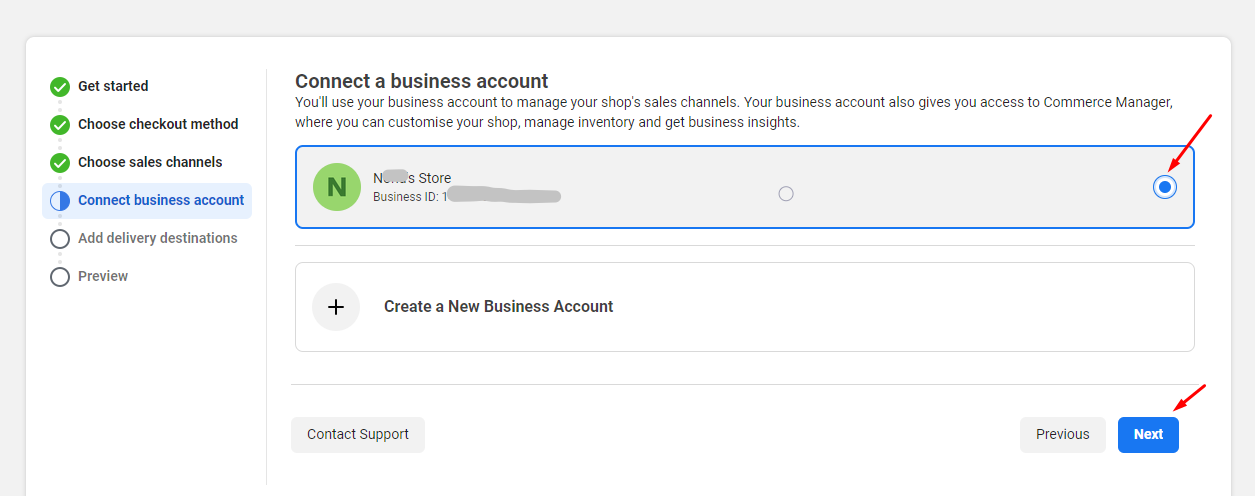
4.Select your Business Account.
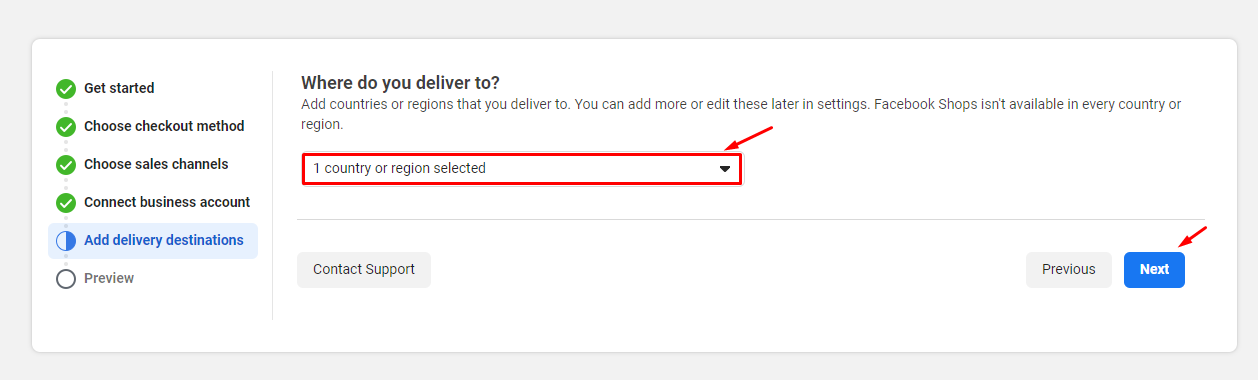
5. Last two steps, select the country and click on “Next“.
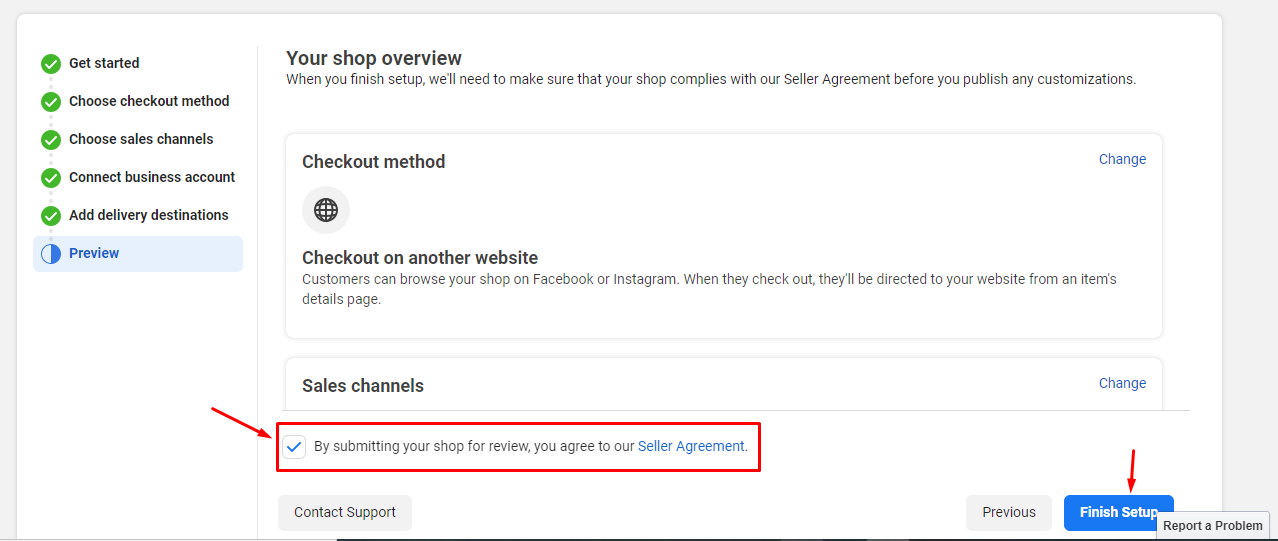
6. Check the box of “seller agreement“. Then, click “Finish Setup“.
Paste the XML File #
- Click on the “Catalogue” drop-down menu. Then, click on “Data Source“
- Choose “Data Feed“. As shown in the below picture.

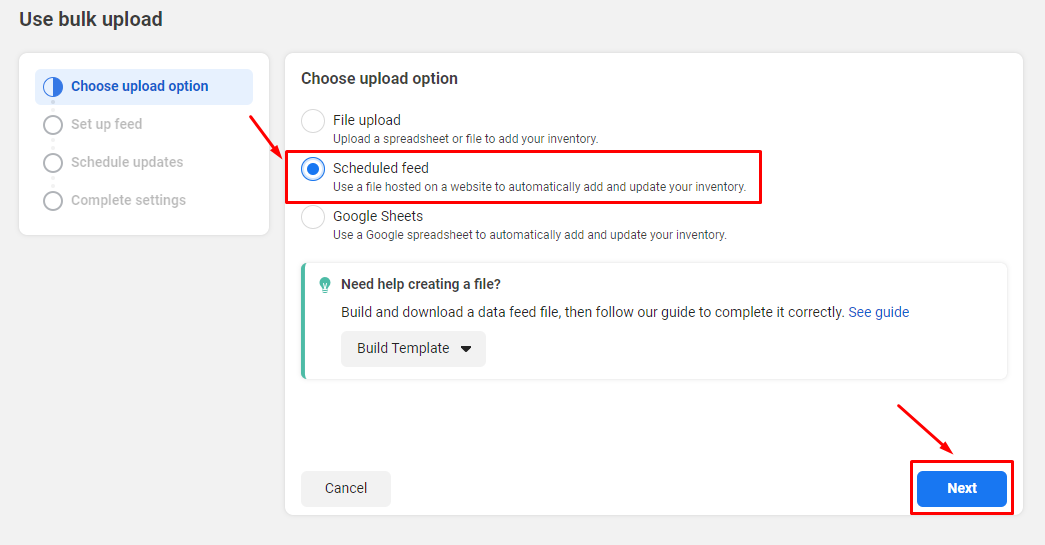
3. Select “Scheduled Feed“. Then, click on “Next“.
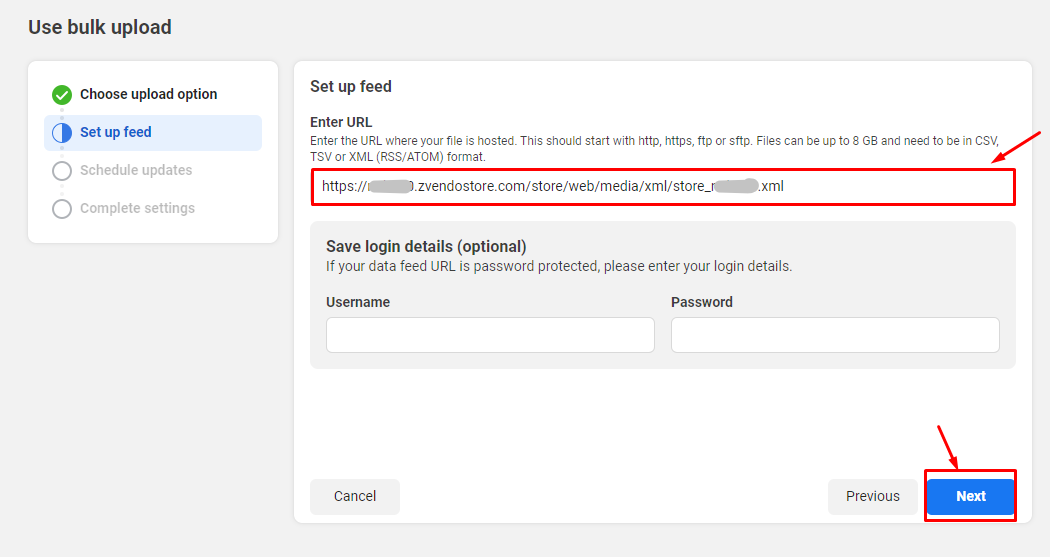
4. Here, paste the Link of the XML File.
5. Select the scheduled Updates, Click on “Daily” and choose the timing, (recommended). Then click on “Next“.

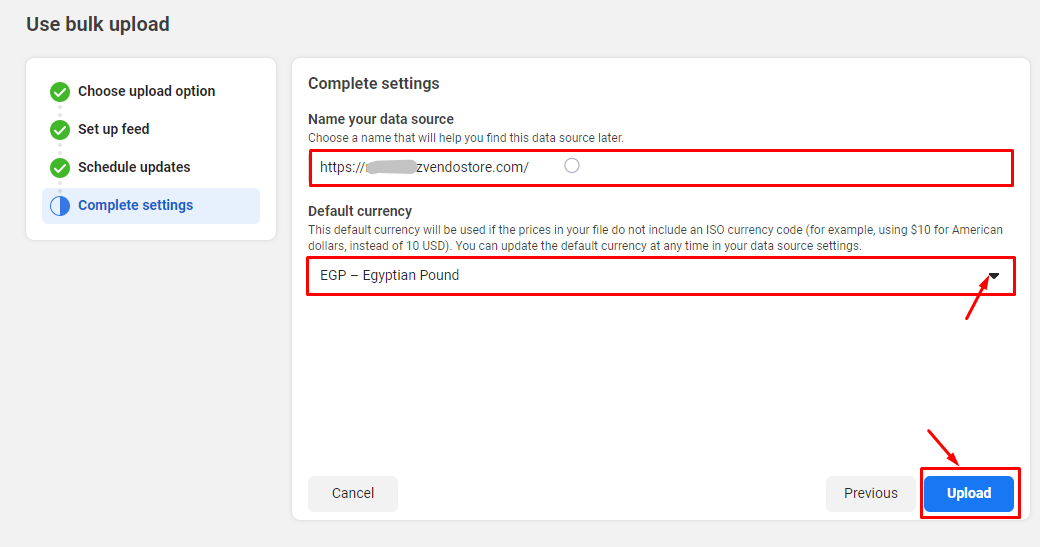
6. Complete Settings, choose the currency of the drop-down menu.
7. Click on “Upload“.
8. The uploaded link will be loading till it’s completed. As shown in the below pictures.
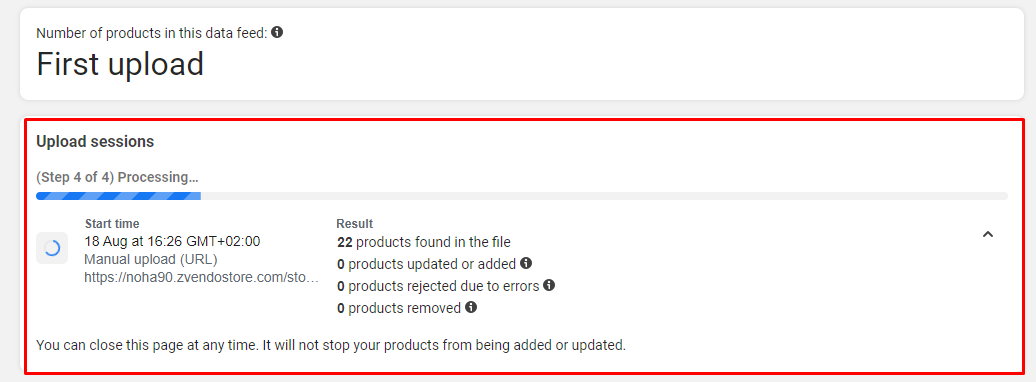
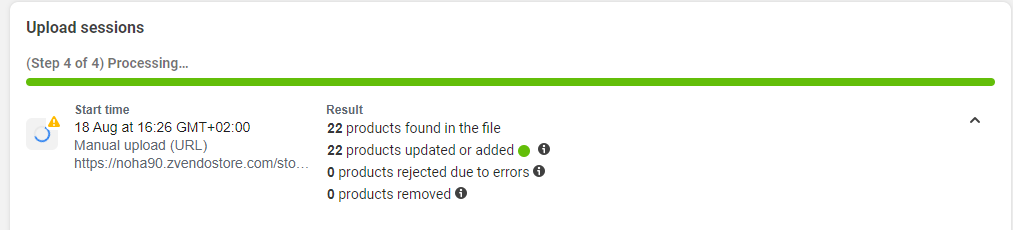
Congrats, you successfully added your products feed on your zVendo Store to your Facebook Shop.


