
Fast delivery with a hassle-free process is now possible with zVendo’s new feature, Geo-Fencing.
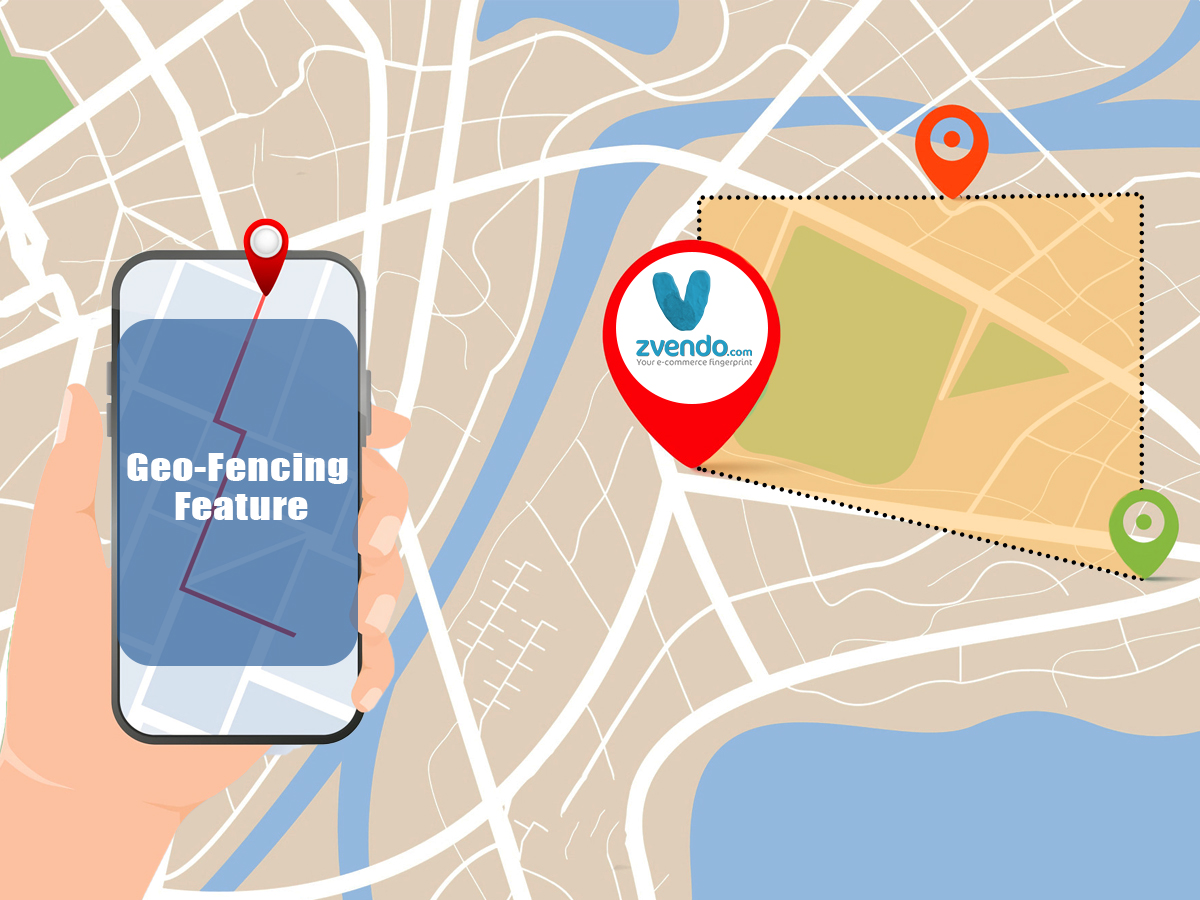
What’s Geo-Fencing? #
Geo-Fencing is a location-based technology feature that permits you to specify the delivery area where your store can serve. Geo-Fencing assists you in maintaining a fast shipping delivery with an accurate time.
Hence, geo-fencing is a delivery-focused feature that allows you to draw the map manually to specific streets or areas to which your store covers.
Here’s an example of the geofencing feature.
A restaurant owner who has four branches in four different areas; New Cairo, Tahrir Square, Heliopolis, and Maadi.
In the New Cairo branch, for instance, he wishes to specify the delivery service area, eliminating some relatively remote roads.
By then, he’ll use the Geo-Fencing feature to draw a manual map with precise roads highlighted as demonstrated in the following steps.
This feature will also direct customers to abide by these pinned areas on their map on the checkout page.
How to Add Google Map API Key #
To activate the geo-fencing feature, you need to add your Google Maps API Key, follow the below steps:
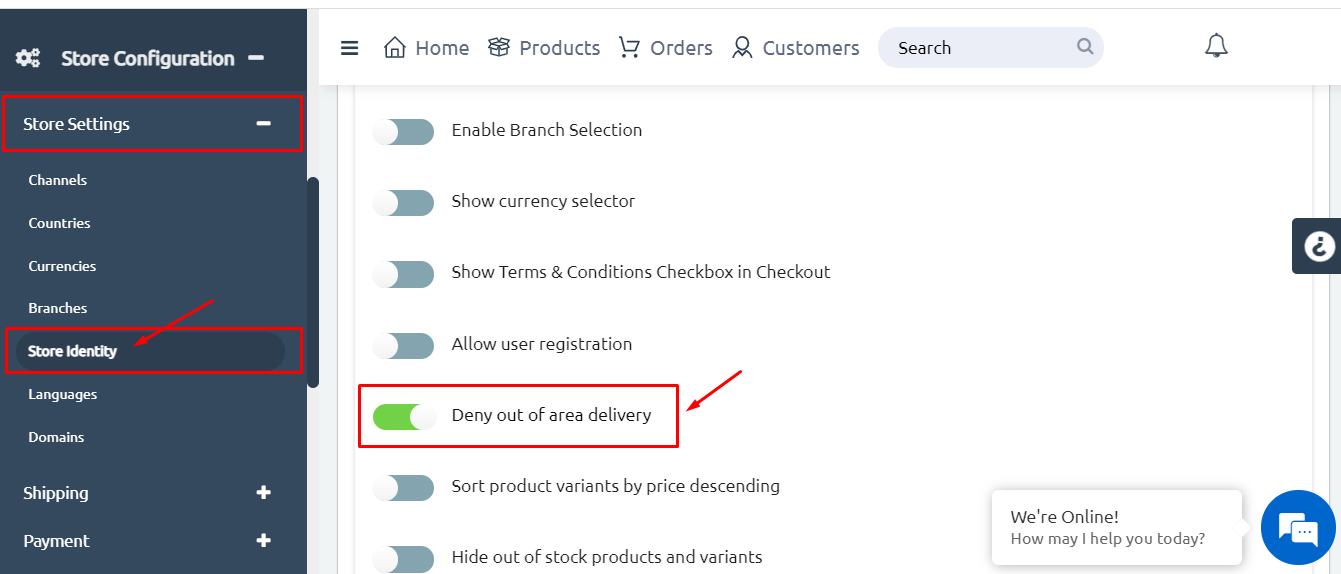
- To add your Google Maps API key, by clicking on “Store Settings“
- Then click on “Store Identity“
- Then, paste your Google Maps API Key. The example is demonstrated in the below picture.
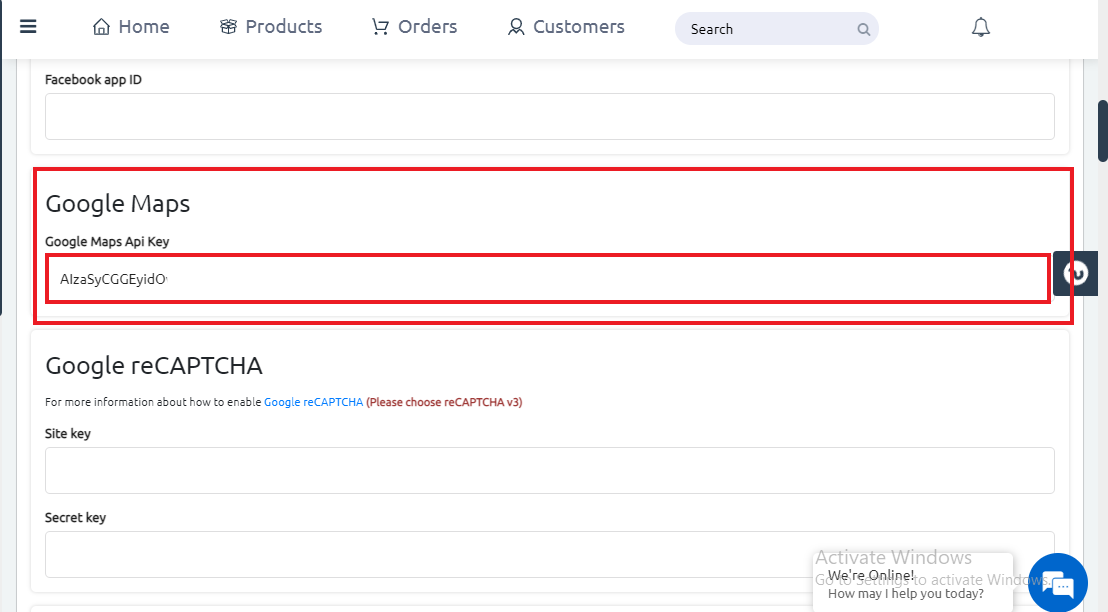
- To get your API key, head to your account on “Google Cloud Platform“
- Get back to this Google tutorial video here
- Paste the Google Maps API Key in your zVendo store
- Scroll down, and activate the “Deny Out of area delivery“
Activate Geo-Fencing Feature #
Follow the below steps for activating the geofencing feature:
- From your store dashboard at zVendo, click on “Store Configuration“
- Click on “Store Settings“
- Click on “Shipping“
- Click on “Cities”
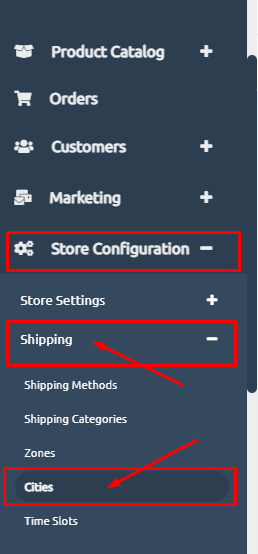
- Then, click on “Manage Cities“. As shown in the below picture.
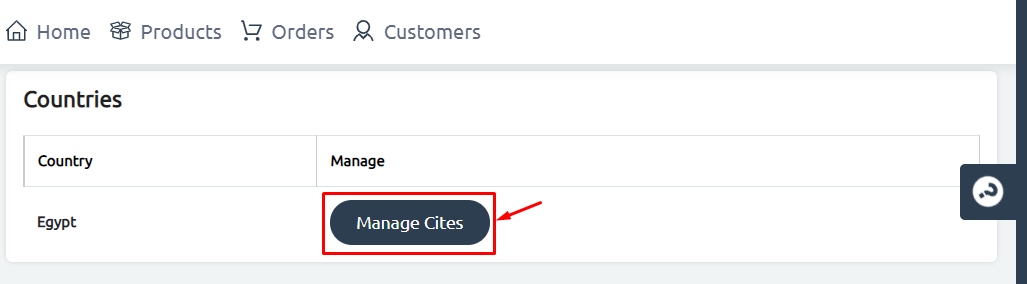
- Choose the city. Example: “Cairo/new-cairo”.
- Then, click on “Show Areas“
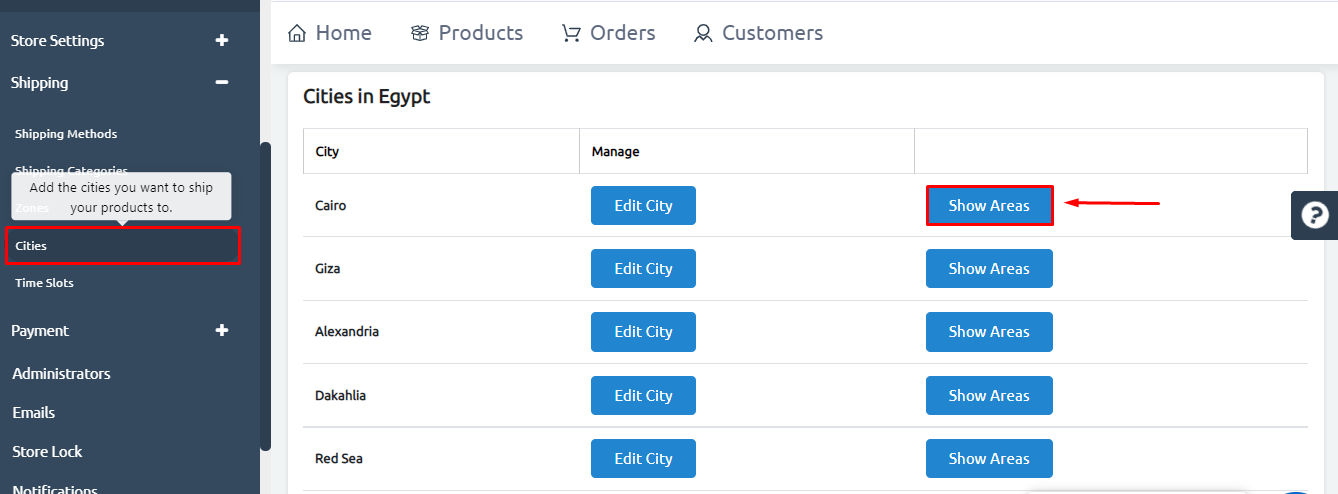
- Select the area you wish to edit. Then, click on “Edit Area“.
- Also, in case you didn’t find the area you serve in the provided list, you can click on “Add Area” to add a new one.
As shown in the below picture.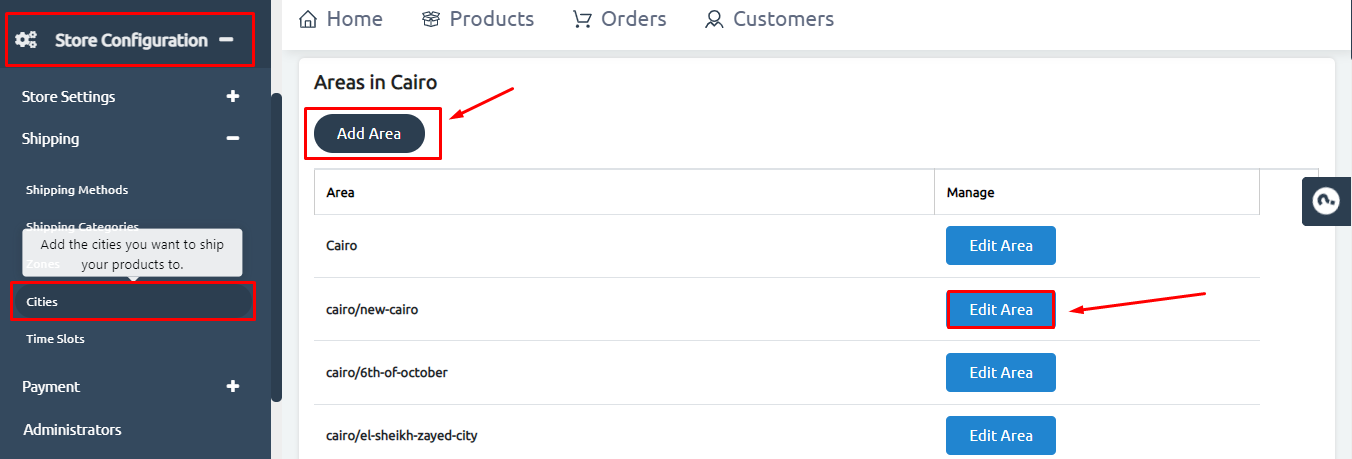
- Scroll down and start drawing your map. Check the GIF below.
- From the three icons, click on number 1 on the right shown in the below picture to “draw a shape” specific points.
- Click on number 2, the pin icon to select a pin for your store location.

- Make sure the start point is the endpoint. So draw the area specifying each point for the routes.
- Click on, “Save Changes“.
As shown in the below picture.
A successful message will appear at the top of the page.

You can explore more about how to assign this area to “Shipping Methods” to assign the map you created to the zone.


