
To use zVendo shipping providers, you need first to choose a shipping method, shipping methods can be Aramex, R2S, or you can choose to ship on your own without a shipping company, if you choose a shipping company, after you sign your contract, we will integrate your shipping method to your online store.
- To configure the shipping rates first you need to have
- The weight assigned per product /variant in grams
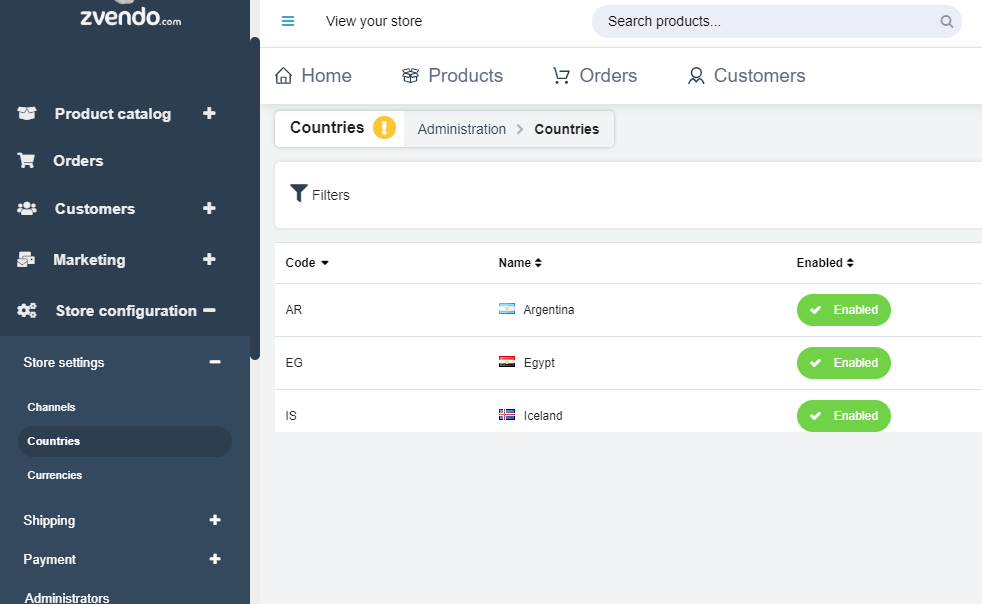
- Countries required to ship to are available in the backend,zVendo by default has Egypt’s cities and areas ready in the zone Namecity
- To add weight to a product
You need to do this if you want to assign shipping fees according to the custom calculator (The weight of the product)
- Edit the desired product, for Simple Products, it will be under Shipping
- For Configurable Products, each variant will have a shipping settings section
- To add Countries
If you want to ship to countries other than Egypt, then you will need to add these countries.
- Go to Store Store configuration>Store settings>Countries>Create
- Select the country you want to add and select from the drop-down menu the country name and click “Add”, enter the country name, as “Canada” and phone key.
- Then add the country to a shipping zone, from Store configuration>shipping>zones, choose a zone consisting of countries, enter the zone name, as “International” then from Add members add the country you created, If you want to ship to several countries internationally with the same shipping fees, then create the countries like you added Canada then from the zone, add more members or more countries. The final step will be to create a shipping method and add this new zone to it.

- A shipping zone is a collection of Countries/Cities/ Areas that share the same shipping rate
- Go to Shipping—>Zones–>Create
- Select the type of the zone (Countries/Cities/Areas/Zones)
- Add the Zone Code, Name, Delivery SLA
- The scope can be left “All” as the default
- Type cannot be changed
- Set the rate per the first KG and the price for the following KG’s
- Add the Zone Members and Save
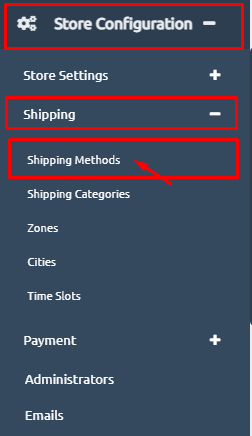
- From “Store Configuration“, go to “Shipping“, then, “Shipping Methods”
- Click on “Create” and specify the Code & Zone
- Enable switch to allow/disallow the usage of that method
- Select the Channel that uses that method (Web/Mobile/POS)
- Note that the POS channel should have its own Shipping Methods, one for Free Shipping (Can be shared with other channels) and another with the Home Delivery Fees
- Select the name that appears to the customers at the checkout
- From the Shipping Charges Select “Custom Calculator” to use the pricing specified in the zones
- To enable Free / Flat rate shipping, Select “Flat Rate per shipment”
Once you sign your contract with a shipping company, or if you want a standard delivery, you can follow these steps to configure all requirements for shipping integration:
1-From your Admin page, click on the icon with the 3 lines (hamburger button ☰) next to View your store, you will need to add cities required for shipping, and to do that, go to your navigation menu from the icon with the 3 lines next to View your store, then choose Store configurations>Store settings>Countries.
2-Click on create and add the country you want to ship orders to, Egypt is added by default.
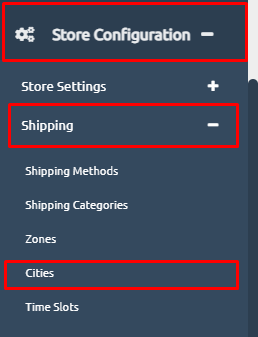
3– Add cities inside this country, by accessing the same navigation menu, choose Store configurations>Shipping>Cities, then click on manage cities, you will find all the cities already added to the country by default, you can edit the cities or add new cities.

4-Add zones to ship to, keeping in mind that every shipping method can only be delivered to one zone and that every zone will have a specific rate for delivery for all cities or areas the zone contains, to do that, from the navigation menu, choose Store configurations>Shipping>Zones, Click on “Create”.
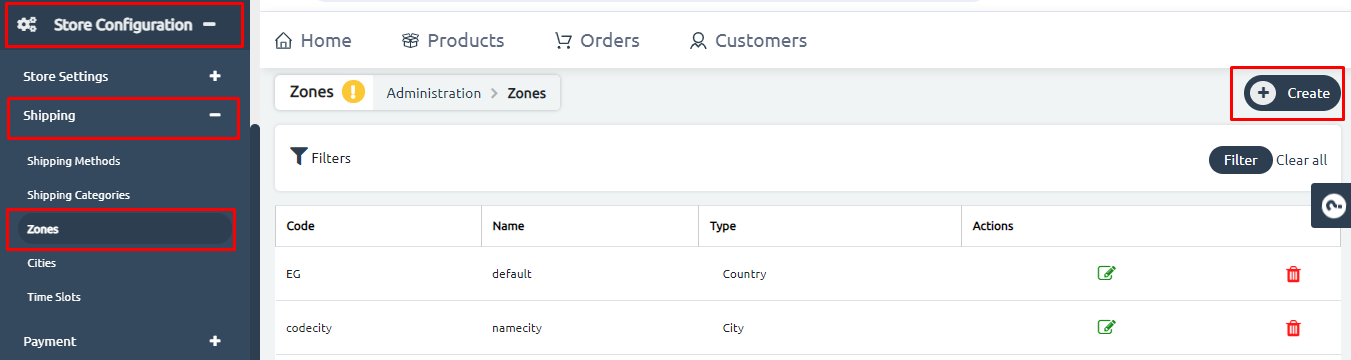
5-Choose zone consisting of cities, to create a zone inside the city you previously created, you will find that the zone Namecity is already created and it contains all the cities inside Egypt, you can choose it or edit it as you like.
-If you want to add a zone consisting of areas inside the cities, choose zones consisting of areas, and you will have the zone Namearea already created by default.
-By using the same process you can add zones consisting of countries or zones consisting of other zones.

6-Add several members inside this zone, members as of 1st settlement, and 5th settlement.
7-Add price per the first KG for shipping, then add the value of any other KG added after, then click on save.
8-Add your shipping method, from the navigation menu, choose Store configurations>Shipping>Shipping method, then click on create.
10-Enter the name of the shipping method, add a description, and the name of the zone you created, scroll down to “Shipping Charges>Calculator” and choose the shipping method
11-Click on Create.


