Table of Contents
Now, you can allow your customers to log in to your online store with their Facebook account.
Key Notes Before You Start #
- Please note that you need to sign in to your Facebook account and activate your Facebook Page.
- Make sure your store is activated and on the Basic plan or higher to activate the Social Login Feature.
Steps To Activating Facebook Login #
- Get your “Application ID” for Facebook, Head to Facebook for Developers.
- Then click on “Add a New App”.

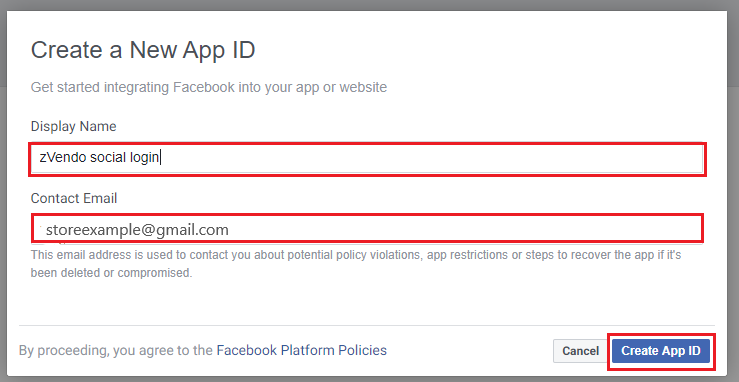
- Register as a developer and insert the display name of your store and your email.
- Then, click on “Create App ID” as shown in the below picture.
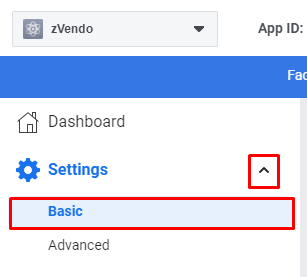
- On the left menu, click on the “Settings” dropdown menu. Click on “Basic“.
- Fill in the fields of “App Domains“, “Display Name“, “Contact Email” and “Terms of Service URL“.
As shown in the below picture.
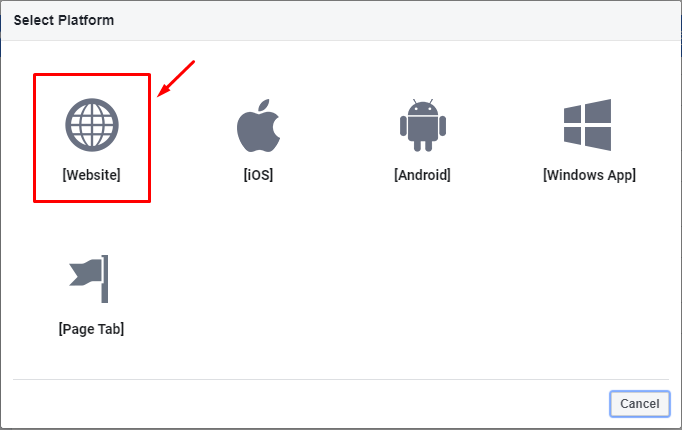
- Scroll down, and click on “Add Platform“

- Then, choose “Website“.
- Add your website link, for example, testshop.zvendostore.com.

- Your App ID will appear at the top of your page.
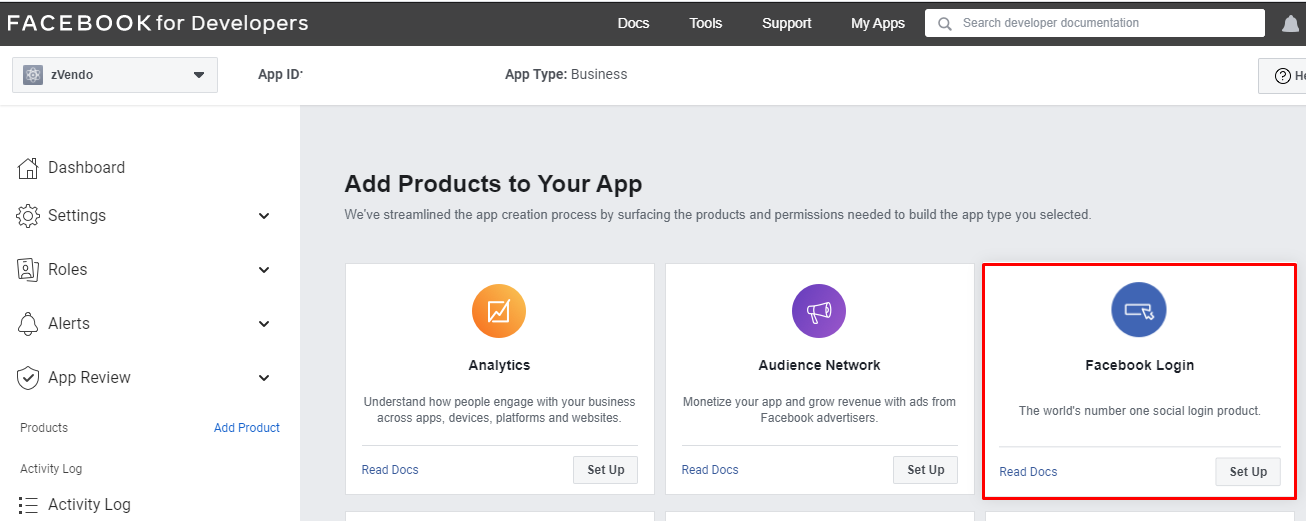
- From the listed products, choose “Facebook Login” and then click on “Set Up“.
- From the left dashboard, Facebook Login will appear. Click on “Quickstart” and choose “Web”, as demonstrated in the below picture.

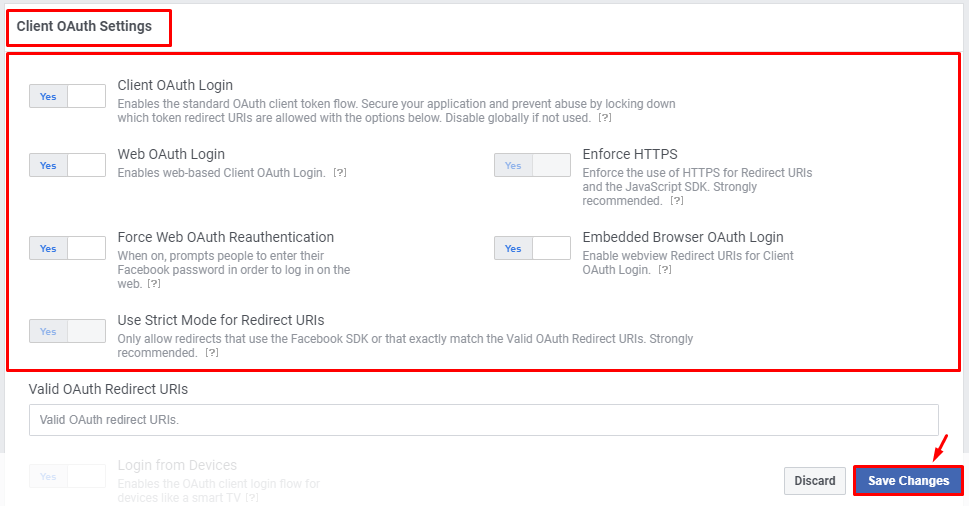
- Press on “Settings” and make sure all the “Client OAuth Settings” buttons are on “Yes“.
- Then, click on “Save Changes“.
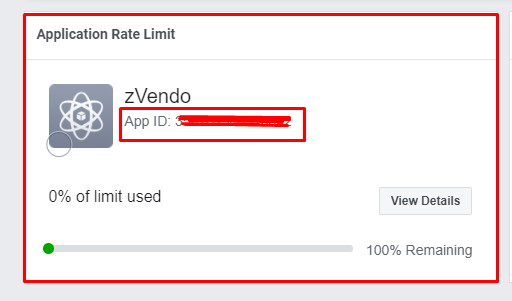
- Now, copy the App ID by clicking on the ID number.
An example of ID is hidden in red in the below picture.
Steps on zVendo Dashboard #
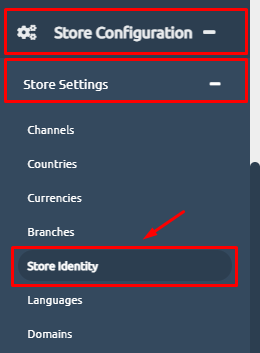
- Go to your store dashboard. From “Store Configuration“, click “Store Settings“. Then, click on “Store Identity“.
- Scroll down to “Social Login“. Copy your App ID and paste it into the field of Facebook App ID. Check the below picture.

- Scroll down and press on “Save Changes“.
- A successful message will appear as a confirmation.

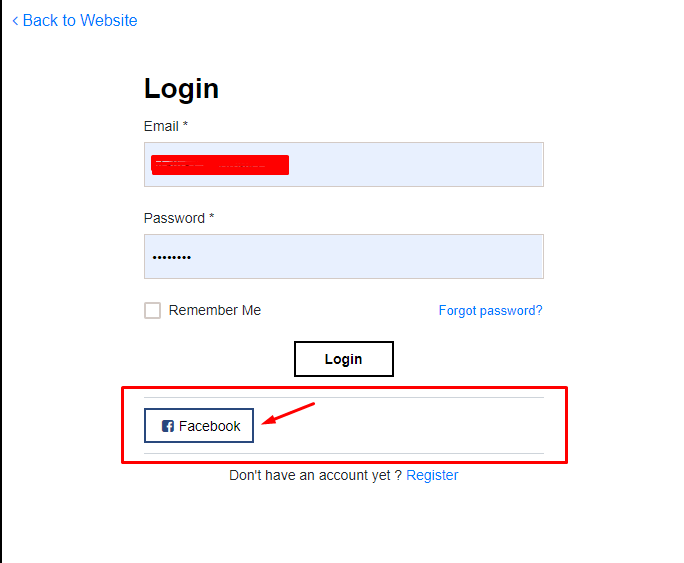
- Check the Store preview, and click on the account icon. The Facebook Login button appears as shown in the below picture.
Congrats, you now activated the Facebook Login to your online store.


