
How to Add Options with Several Variants #
An option is the main criterion that includes many variants.
Options could be colors or sizes of products that reflect on their prices.
Hence, when you add a product with multiple colors, sizes, or any other variant you will need to create an option on your zVendo store.
Methods to Create Options with Multiple Variants #
Choosing one of the two following methods depends on the quantity of your product.
Demonstrated below method one, in which you can create options as a separated step.
Yet in method two, you can fill the details of the configurable product, while on the same page you create the options, like Sizes, and add variants, like Small, Medium, Large, X-Large.
Now, you can check each method in detail.
Method 1 #
Before you create a configurable product, you can create the product’s main options.
Here are the steps to follow for adding up the value of each variant:
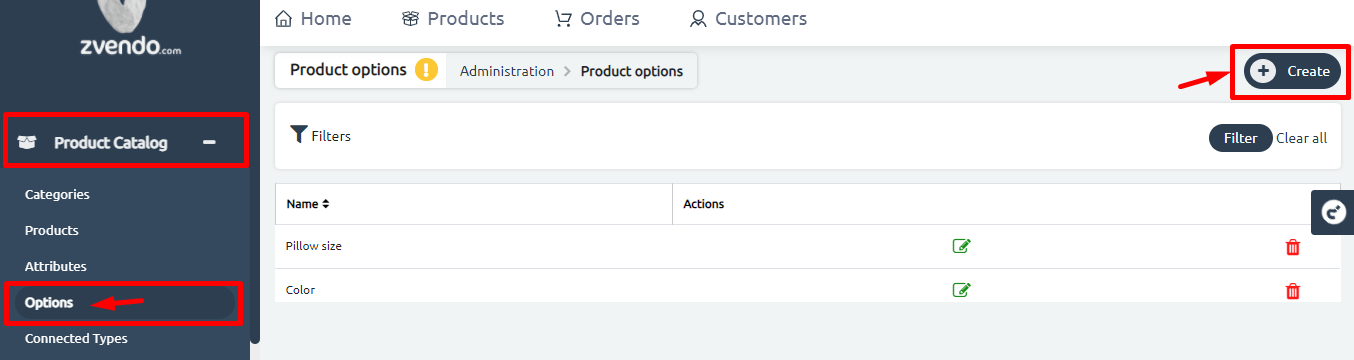
- From zVendo dashboard, click on “Product Catalog”.
- Then, click on “Options”.
- On the right side of the page, click “Create”.
As demonstrated in the below picture.
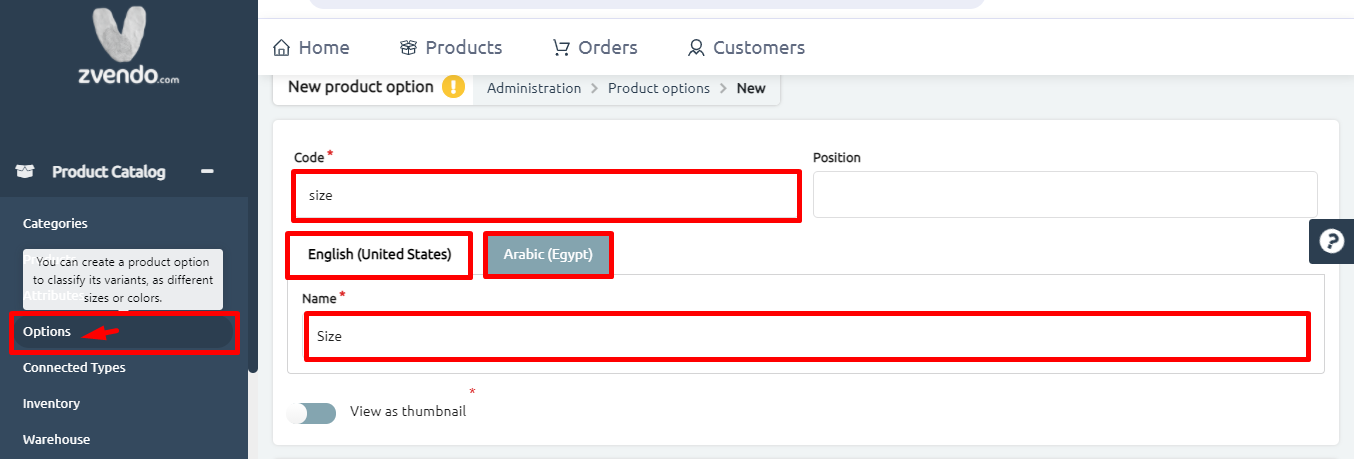
- Start filling the required fields as follows:
*Code: write the “code” of the first option and you type it with no special character, no space.
*Example: size or color-1
*Name: Name in English then name in Arabic
*Position: you can arrange the variants on your website.
Example: Small, Medium, Large, X-Large - Enable the “View as thumbnail” button in case you want to add small pictures. For instance, add pictures for colors.
- Press on “Add Value” button
- Fill code and English & Arabic
- As an extra step, you can add “Thumbnail” images to represent your variants by clicking on “Choose file“. Example: add images, representing colors (red, orange, green).

- For adding more values, click “Add Value“.
- Repeat the same pattern of filling the required fields: Code, Name EN & AR
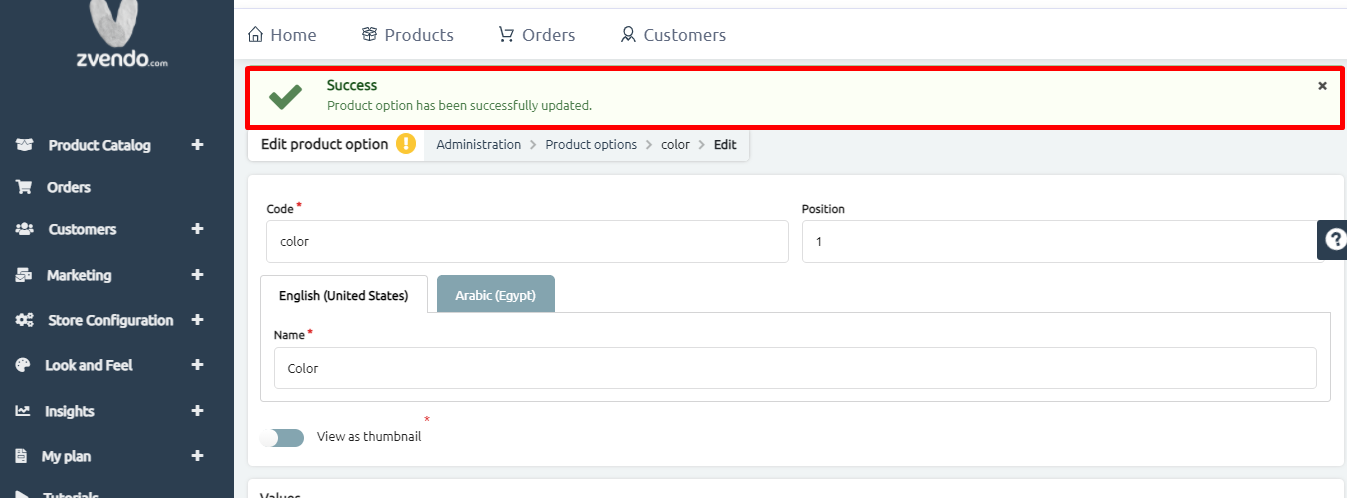
Example: Small, Medium, Large, X-large - Now, press on “+Create“, then the product option will be successfully created.
As demonstrated in the below picture.
Method 2 #
Create an option while creating a new configurable product.
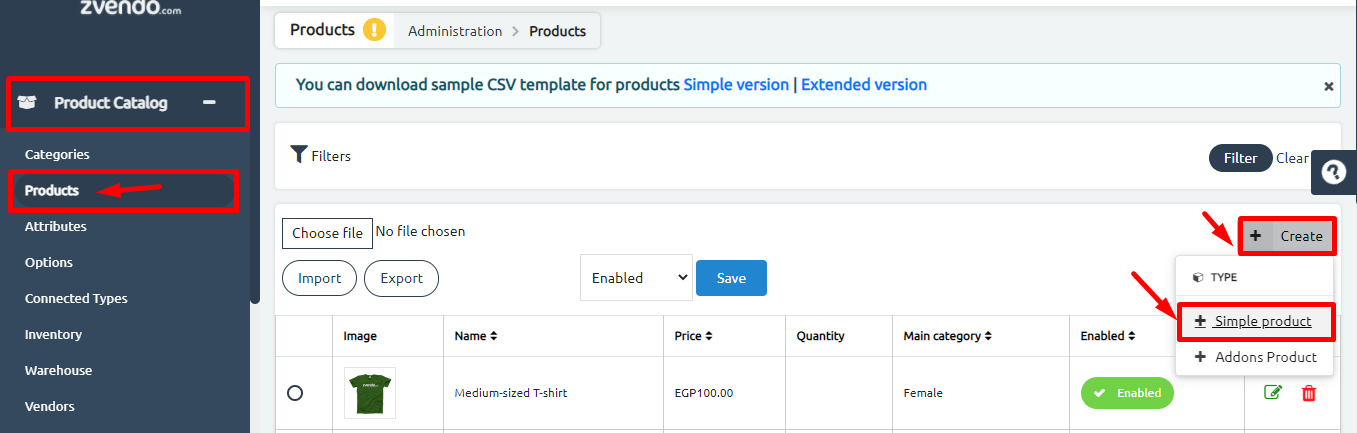
- From zVendo dashboard, head directly to “Product Catalog“
- Then click on “Products“
- Click on “Create” then “Simple Product“
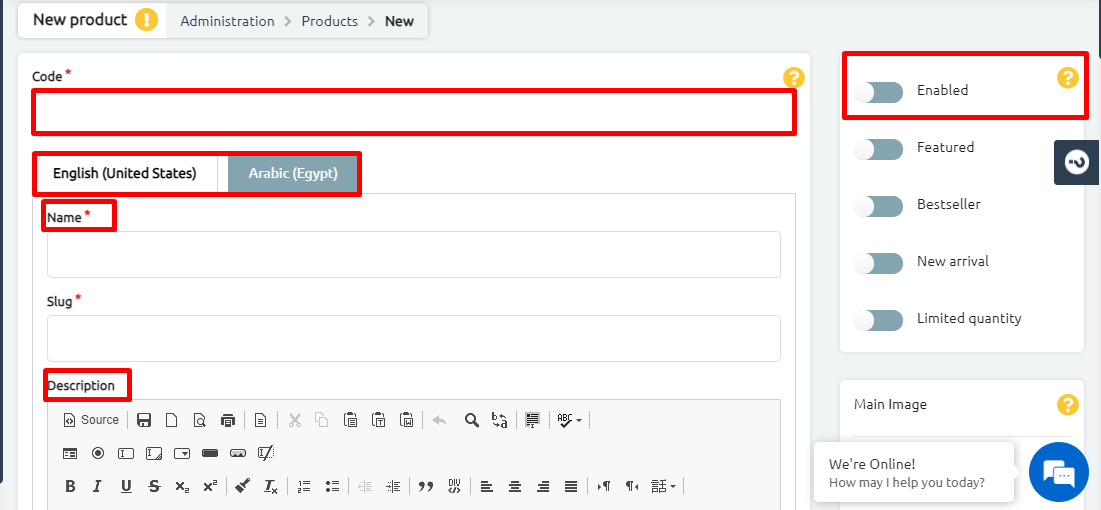
- Fill required fields; “Code“, “Name“, “Description“
- Click on the “Enables” toggle button. As shown in the below picture.
- Scroll down to “Product Settings“.
- Choose “Configurable Products” from the dropdown menu.
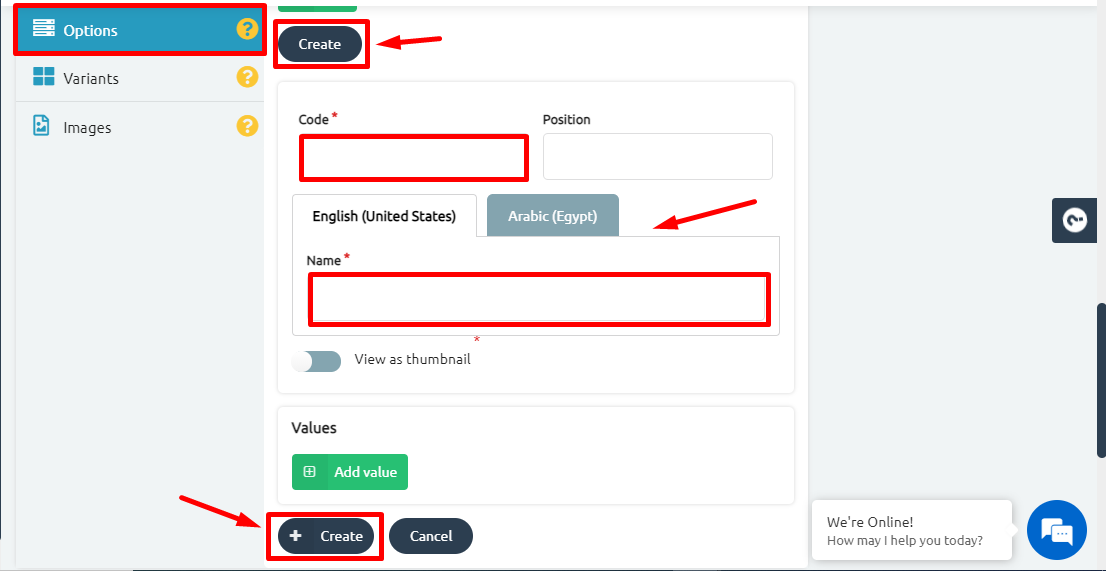
- Then, click on “Options“, then click on “Create“.
- Start filling the required fields, “Code“, “Name“
- Then click on “+Create“. As shown in the below picture.
- Please Note:
*For adding more values, click “Add Value“.
*Repeat the same pattern of filling the required fields: Code, Name EN & AR
Example: Small, Medium, Large, X-large.
Choosing method 1 or 2 depends on your business needs and also according to the number of your products.
Now, you successfully created a new option for your products on one page.
How to Assign the Created Options to the Product #
After creating options with detailed variants, you should assign the option you created to the product.
To know how to assign the created options please click here.


